
The single most important gaming decision I had as a child included this Pokémon. I think for me watching the episode where Ash got his Charmander was my tipping point. Seeing the little guy struggle to stay alive really tugged on my heart strings. I also think he looks the cutest now as an adult.
So when I was first starting crochet & looking into amigurumi I had to find a Charmander to complete. Looking through a few free designs I instantly fell in love with 53 Stitches version. Something about it’s design brought back a whole wave of nostalgia and it was a really simple and easy pattern to follow for my first ever amigurumi.
After completing a couple I wanted to test myself & see if I could complete the pattern a little more accurately by extending the lighter chest section underneath and down the tail. It took a couple adjustments but I’m happy with the result.
Since this pattern is not entirely my own design I will only be noting the changes to the body & tail I completed for this pattern. It does require a bit of colour changing throughout the pieces so please ensure you are confident completing that prior to starting. Provided you know how to change colours during a row it should be a relatively easy piece and take approximately 45-60mins.
For everyone who wants to also complete this cute fire lizard in totality please go check out the free pattern on 53 Stitches. You’re welcome to include the changes I have made or just complete the original, but I wanted to provide my changes in case others wanted the same as myself. If you do make my changes and you post on your socials please tag both myself & 53 Stitches. I’d be keen to see your end product.
I have also gotten permission to post this from 53 Stitches.
*Note* there will be a lot of colour changes at the start and if you want cleaner edges ensure you know how to transition crochet/change colours in the row before. I will note these transition points with a Tsc for reference however I will not be noting when to swap colours once this basement layer is completed. Please ensure you swap colours appropriately. If you would prefer me to include these instead please leave me some feedback so I can adjust my future projects.
I also found that in some instances when I was doing the cream for the chest and tail it seemed to slope in one direction – usually to the right when looking at the body from the normal anatomical position. If you find this happening to your piece the best work around I actually found for this was to place an increase crochet right before the colour change (one of these crochet’s will include changing colours) and then decreasing in the second crochet after switching back to the orange colour. I will be including this in certain parts of the pattern & noting them with an *. See the relevant section below that piece’s pattern for guidance.
Crochet Abbreviations:
sc: single crochet
ss: slip stitch
Tsc: transitional crochet – first pull through is one colour, last pull through a different colour. Is essentially the same crochet you do right before a colour change.
STinc: same-transitional crochet. Complete a standard sc then in same loop complete a Tsc
Finish Off: Place enough ss to desired level & tie off generally with enough tail to attach if required.
Colour Yarn
Colours used for my changed sections:
Orange
Off white/cream
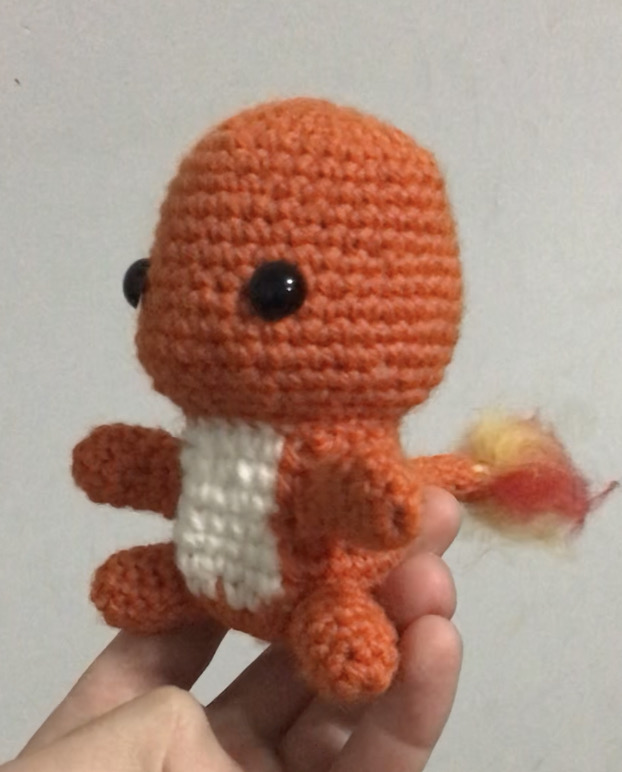
Photo of my first amigurumi ever. A lot of lessons learnt but still treasure it’s quirkiness
Body
Colours: Cream, Orange
Note – there are a lot of colour changes and increases that happen concurrently during this pattern in an attempt to keep the overall pattern symmetrical. So to take out the guess work for you for this part only if an increase contains a colour change then I will note for you to complete one. If an increase does not contain a colour change – even though the next base loop suggests one, do not. This is because for the tail section of the body we are gradually decreasing the cream colour.
Start in Cream
1. MR 6 (6)
2. inc 6 (12)
3. inc x2, STinc, Tsc x3 – x2 (18)
4. inc, sc x5, inc, sc x2, inc, sc x3, Tsc x2, inc, sc, inc, STinc (24)
5. sc x6*, inc, sc, inc, sc x3, inc, Tsc x3, sc, inc, sc x3, inc, sc, STinc (30)
6. sc x30 (30)
7. sc x30 (30)
8. sc x30 (30)
9. sc x7, (dec, sc x2) x4, dec, sc, dec, sc x2 (24)
10. sc x 24 (24)
11. sc x 23, sc (24)
12. Tsc x5, sc x 19 (24)
Finish Off
*if you struggle to keep the pattern from slanting then complete (dec, sc x3, inc) here the the last crochet of the row complete a STinc. In future rows start with scx7 (x6 cream x1 orange) then dec as first x8 then STinc as last crochet of row. Exception is row 9 – follow that one and add an extra dec somewhere in row 10 after first 8 crochets.
You need to ensure you are pulling the first crochet tight after a colour change as the will be a little less tension which causes the colours to drift if you don’t fix this. Leave the crochet you do to change colours firm but not tight.
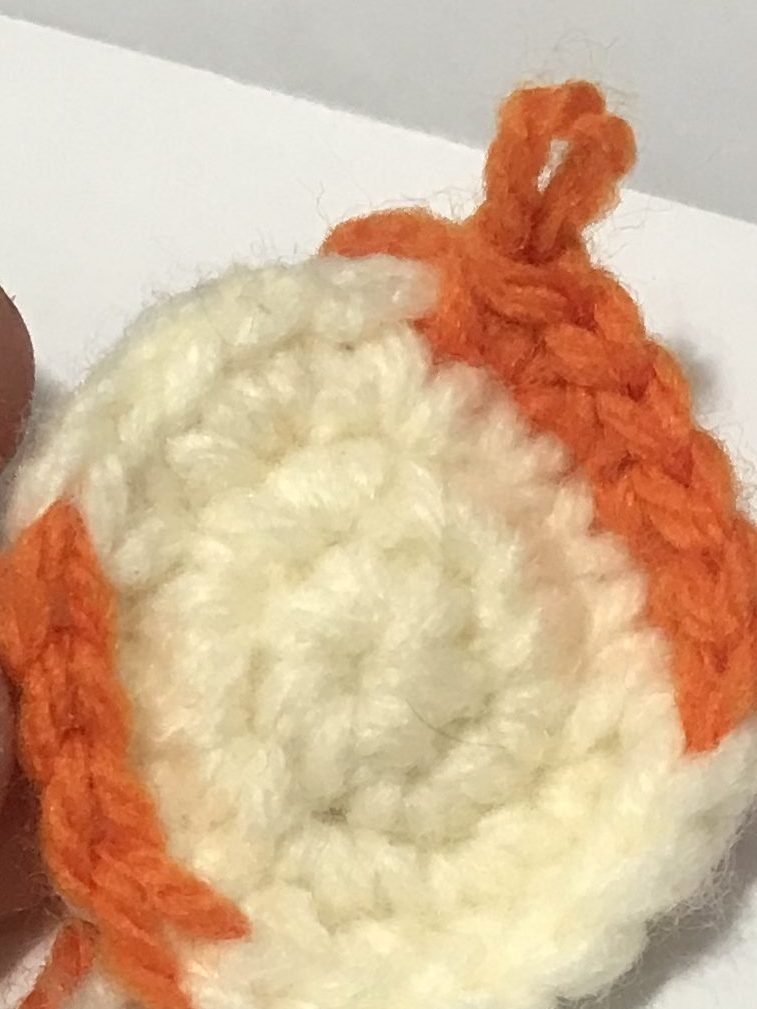
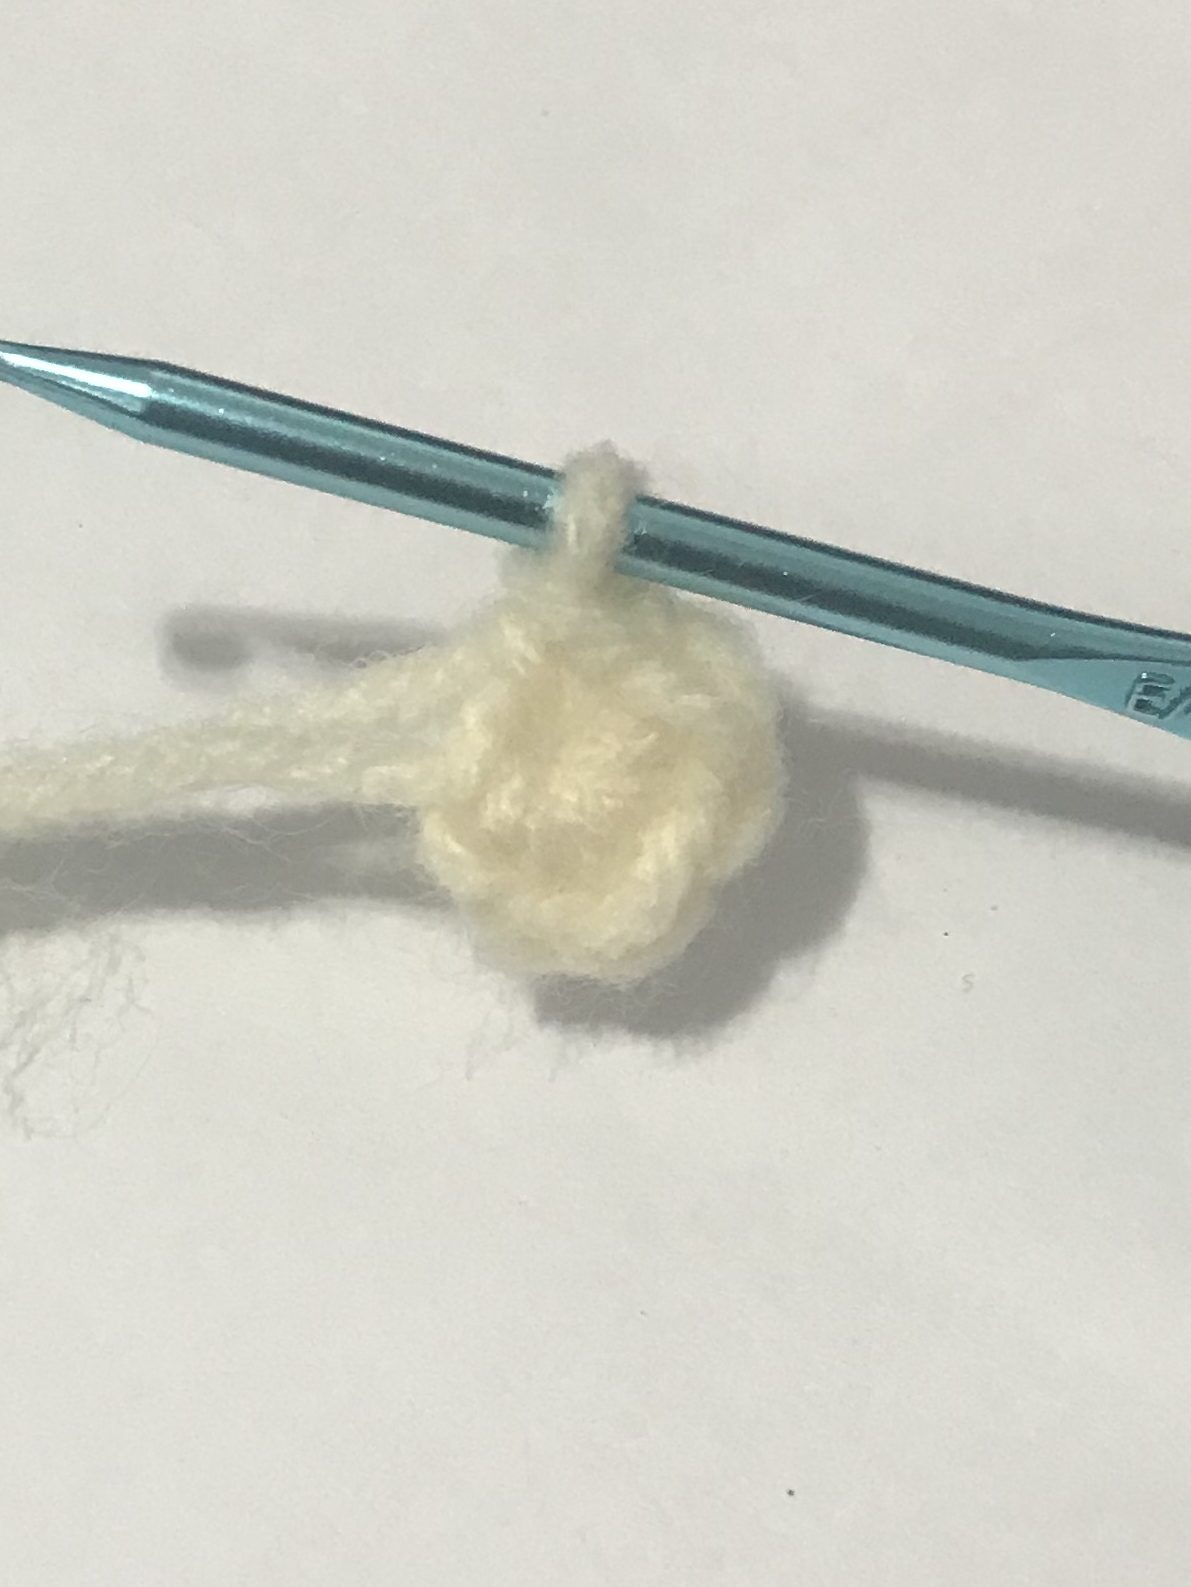
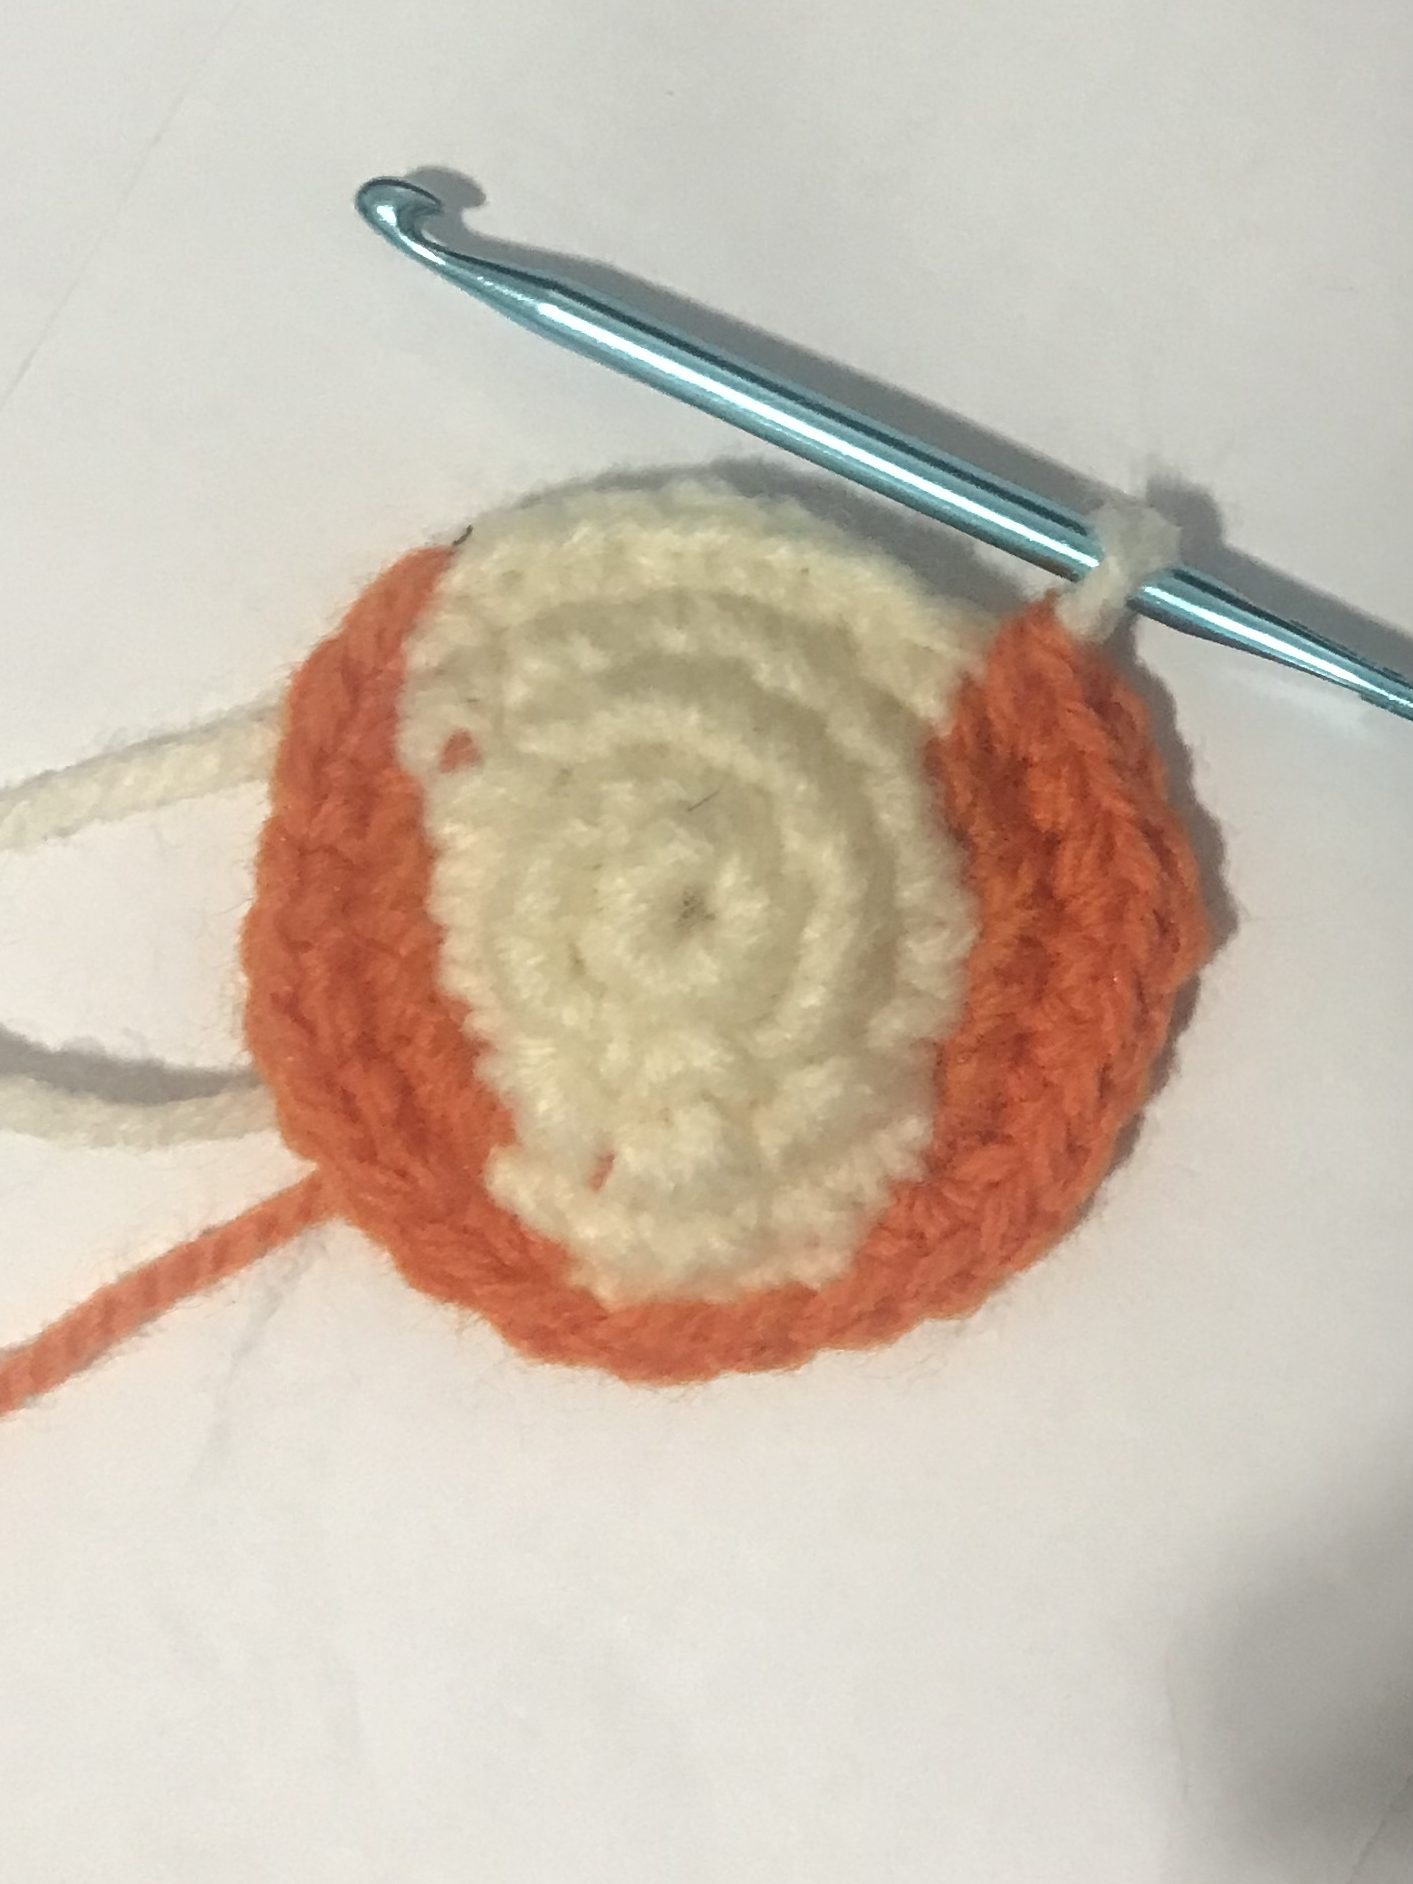
Left image is Row 4 at 3rd increase – two orange crochets placed. Right image is the start of single crochets in cream
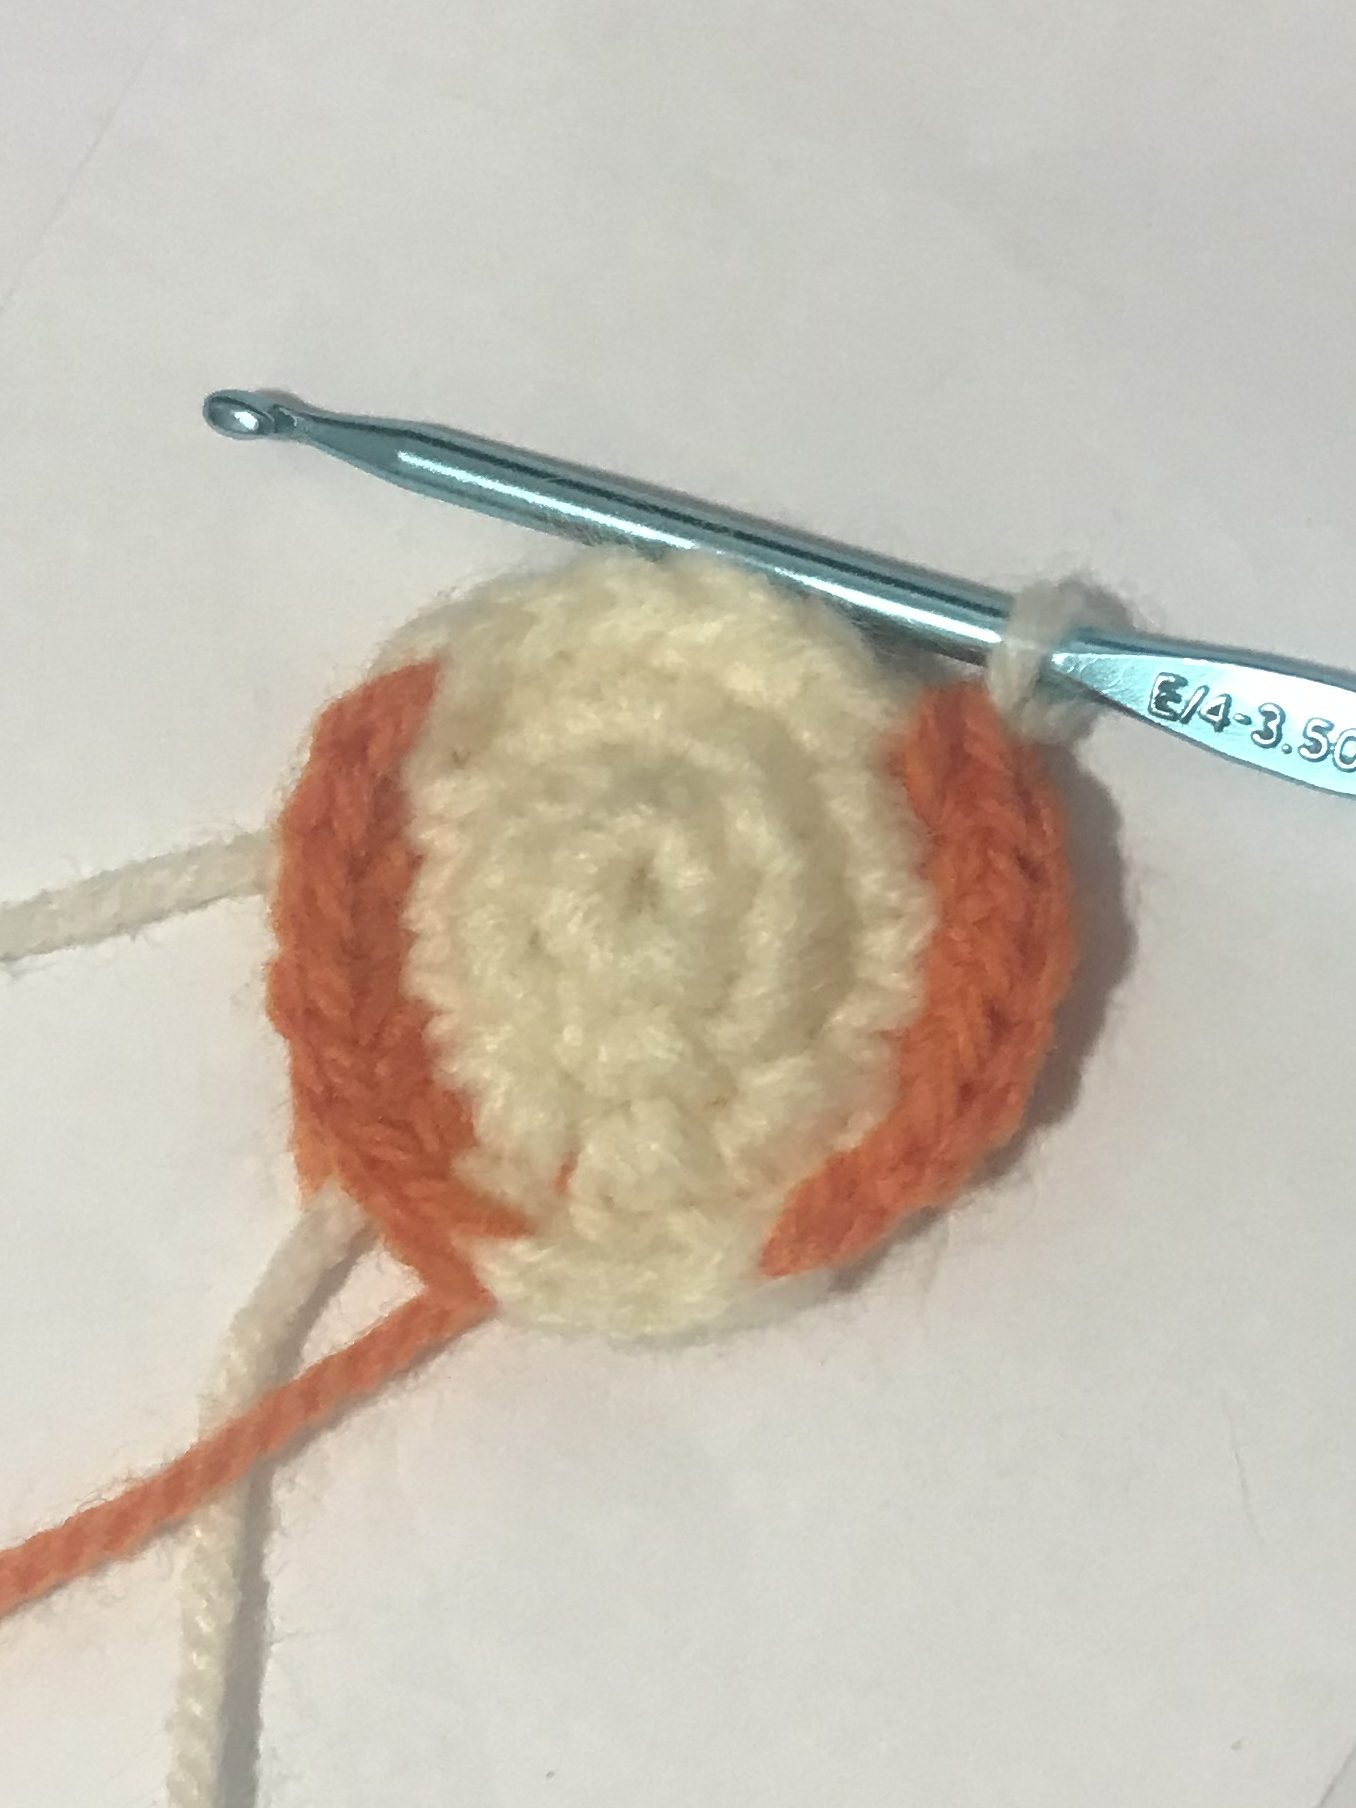
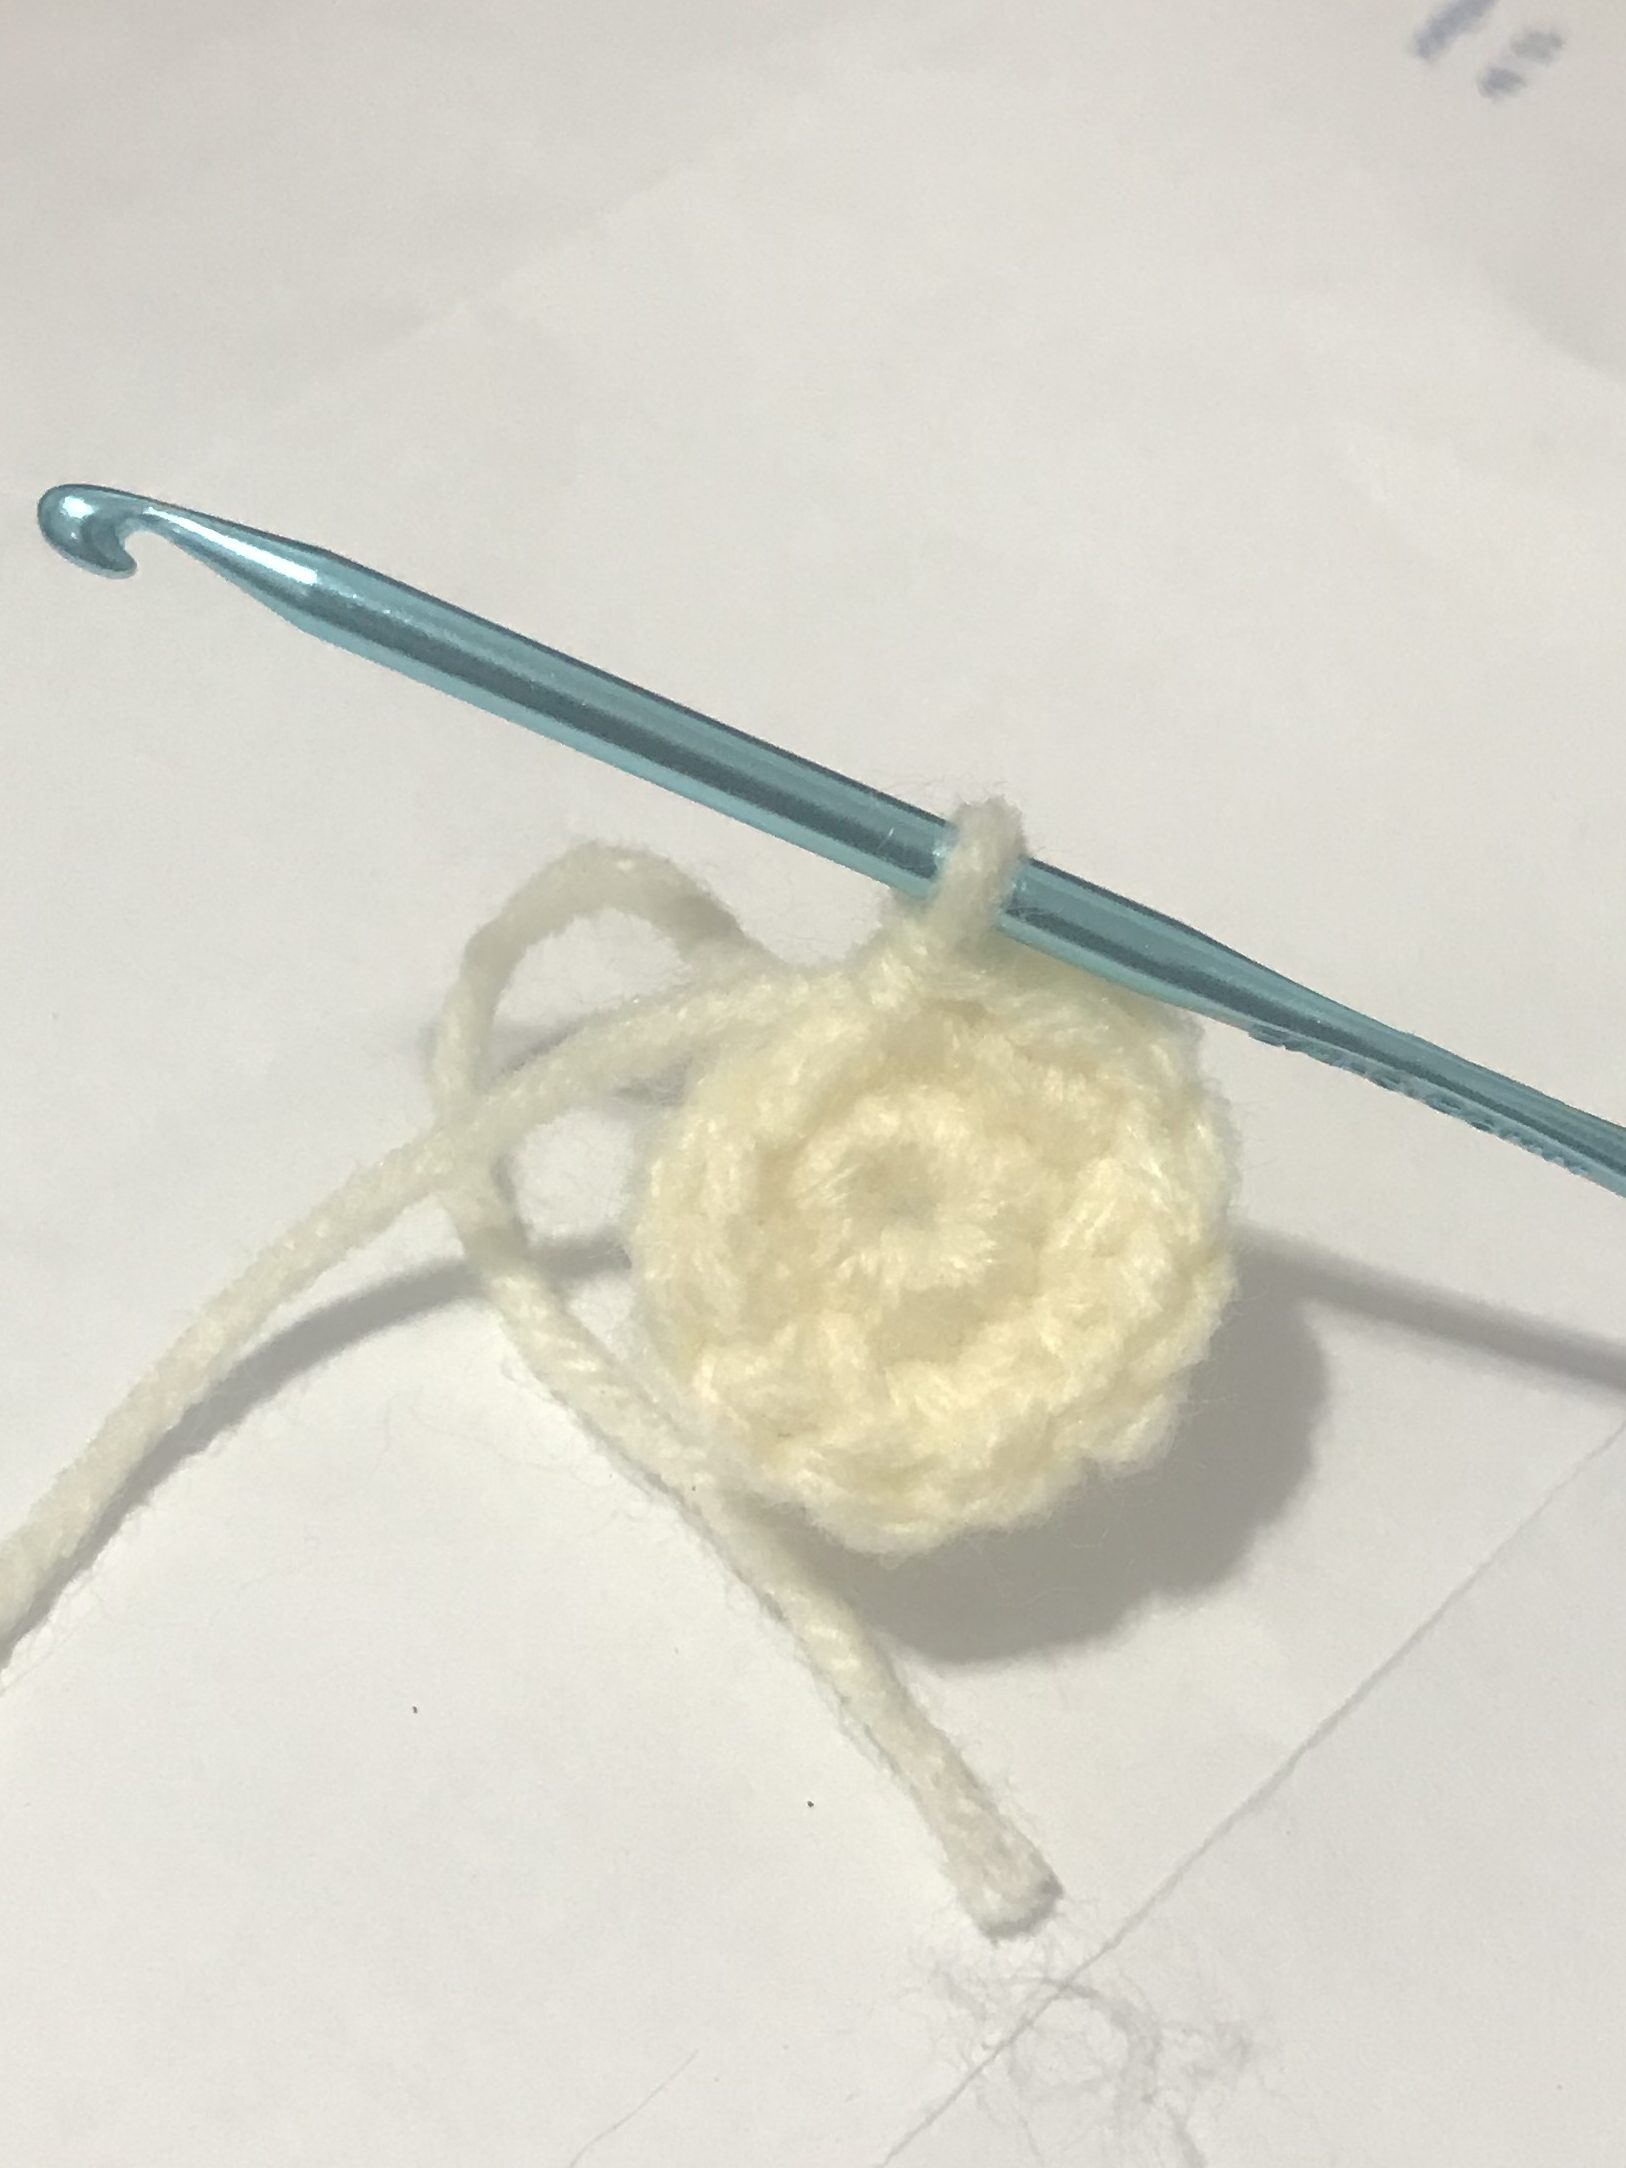

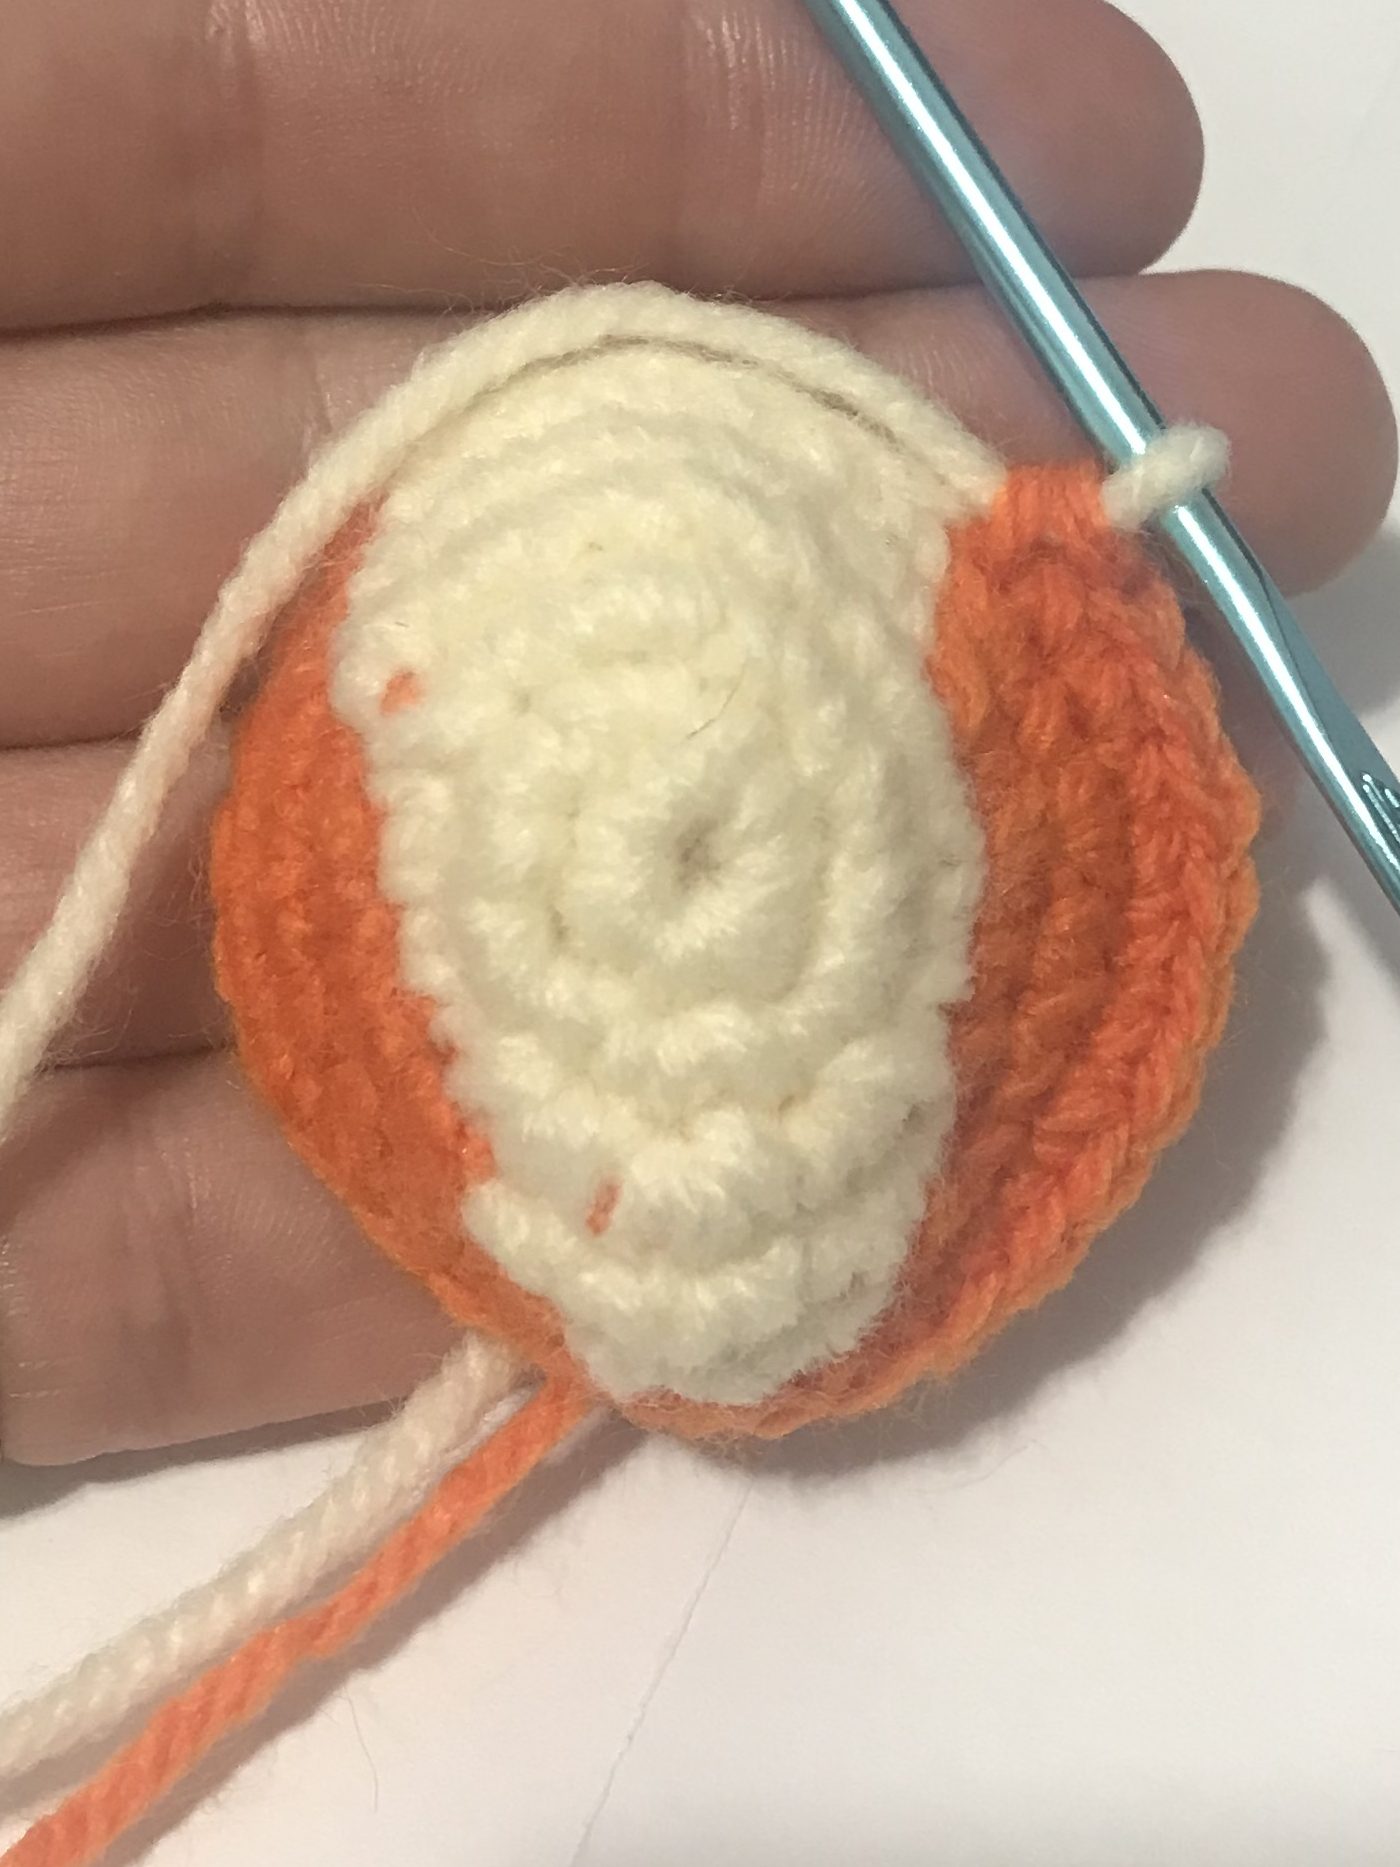
First 6 rows for reference. After this row you are building the body up so changing colours should be easier
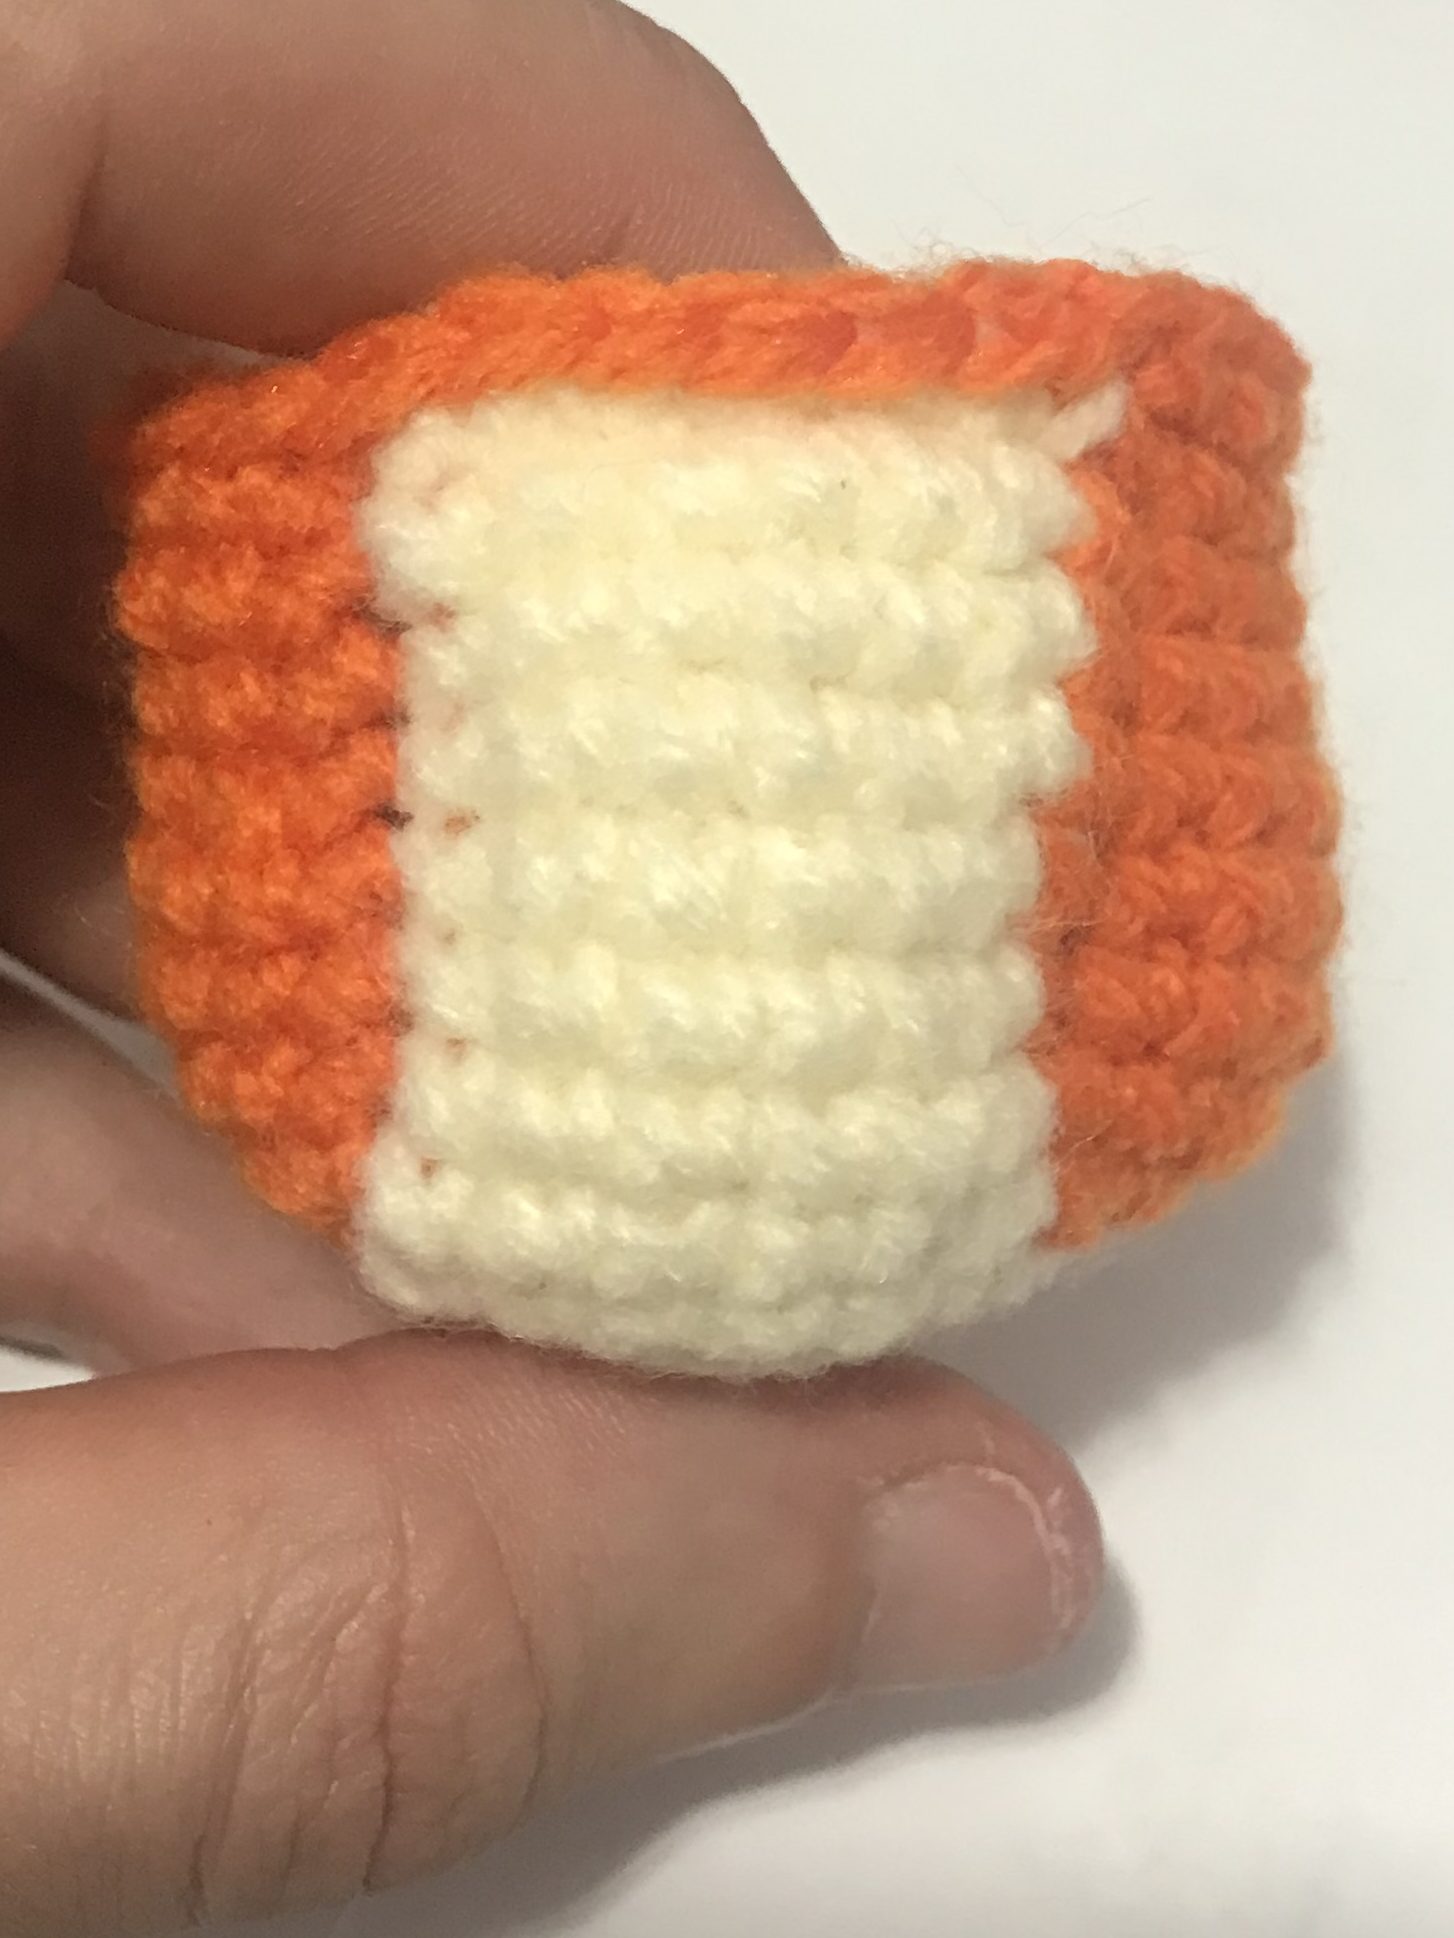
notice how straight the lines are on the left compared to the right.
Tail
Colours: Orange, Cream
Again I found completing my increase right before my colour change in this section made it easier for me to keep the cream colour symmetrical & straight. If you find you do not need this then for each row from 5 onwards (excluding 6 & 9) please increase at the start of the row and sc around. Unlike the above section in this pattern each inc will be a Tinc so I will not be noting these – please pay attention to your piece.
1. MR 6 (6)
2. sc, Tsc x1, Tsc x1 (cream)*, sc x3 (6)
3.-4. sc x6 (6)**
5. sc, inc, sc x4 (7)
6. sc x3, inc, sc x3 (8)
7. sc x2, inc, sc x5 (9)
8. sc x3, inc, sc x5 (10)
9. sc x6, inc, sc x3 (11)
10. sc x4, inc, sc x6 (12)
11. sc x12 (12)
Finish off
*The Tsc here are not grouped together because you are doing an orange>cream crochet, then cream>orange crochet. The end result will end up with x5 orange crochets and x1 cream crochet with the loop & tower all matching
** If you find your pattern slopes like mine does occasionally then complete: sc, inc, sc, dec, sc x3 – you are doing 8 crochets here in order to maintain the same start position relative to the rest of the pattern. See image below for an example on the end product
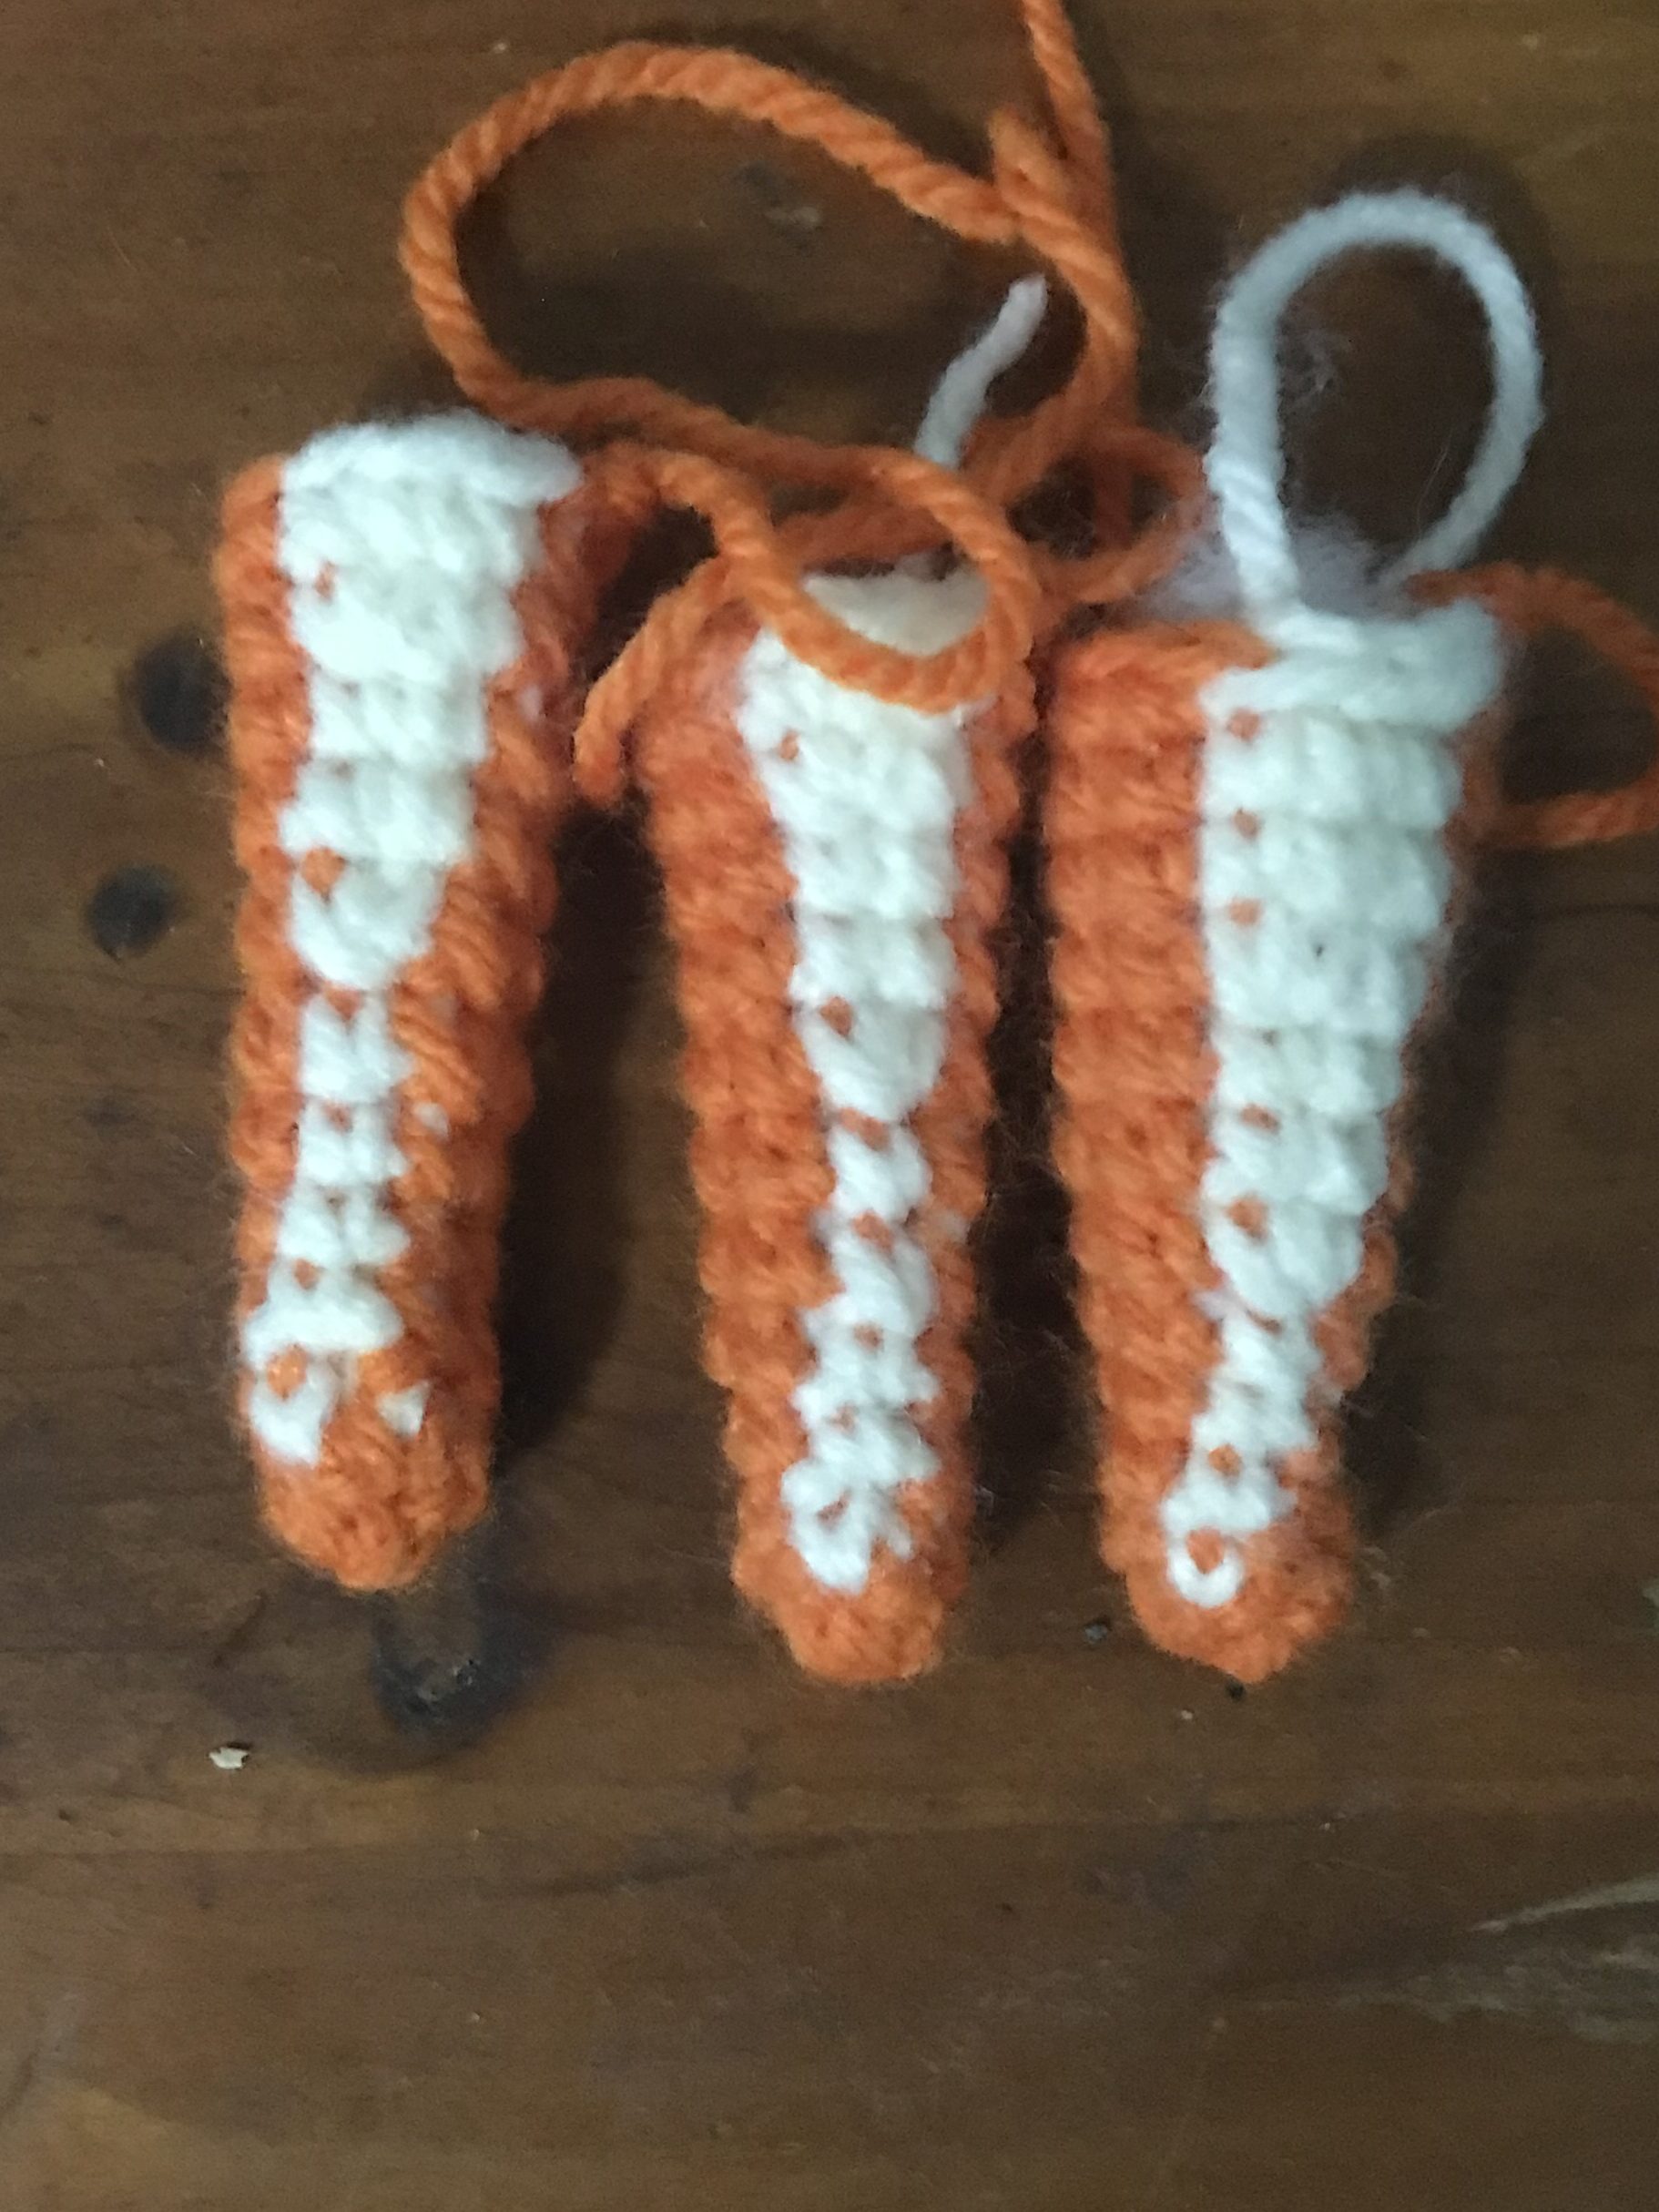
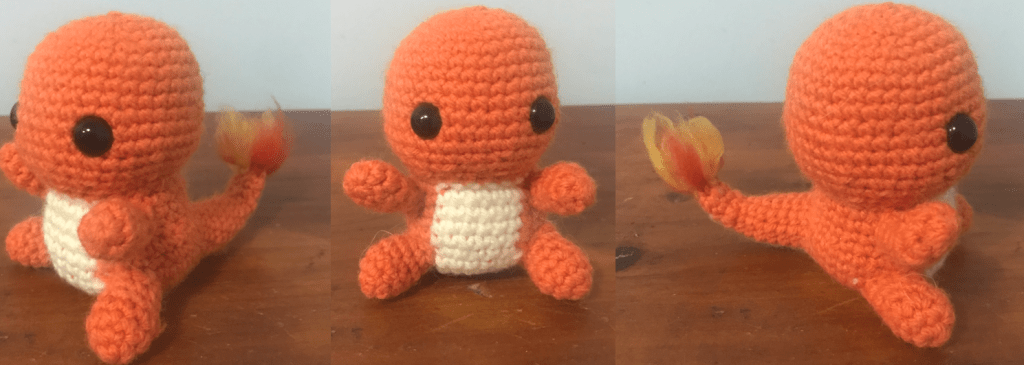
Notice how the one on the right the white slopes gradually to the right at the bottom
Assembly
Again assembly should be much the same as that found on 53 Stitches so please go and check that out.
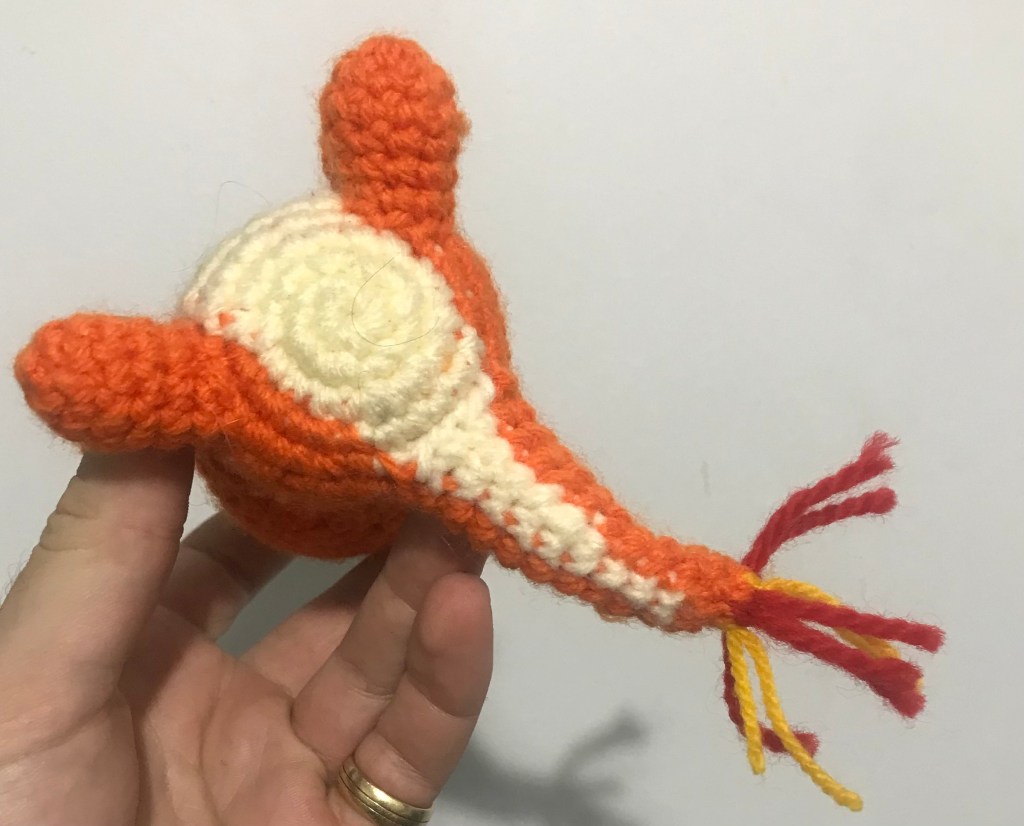
The only difference is the tail piece. You should be able to line up the section so things flow nicely. To make it look right you will most likely hide the x3 sc cream section on row 5 of the body behind the tail however I left this cream section in, just in case there was any bleed through during attachment and to make things look neater.
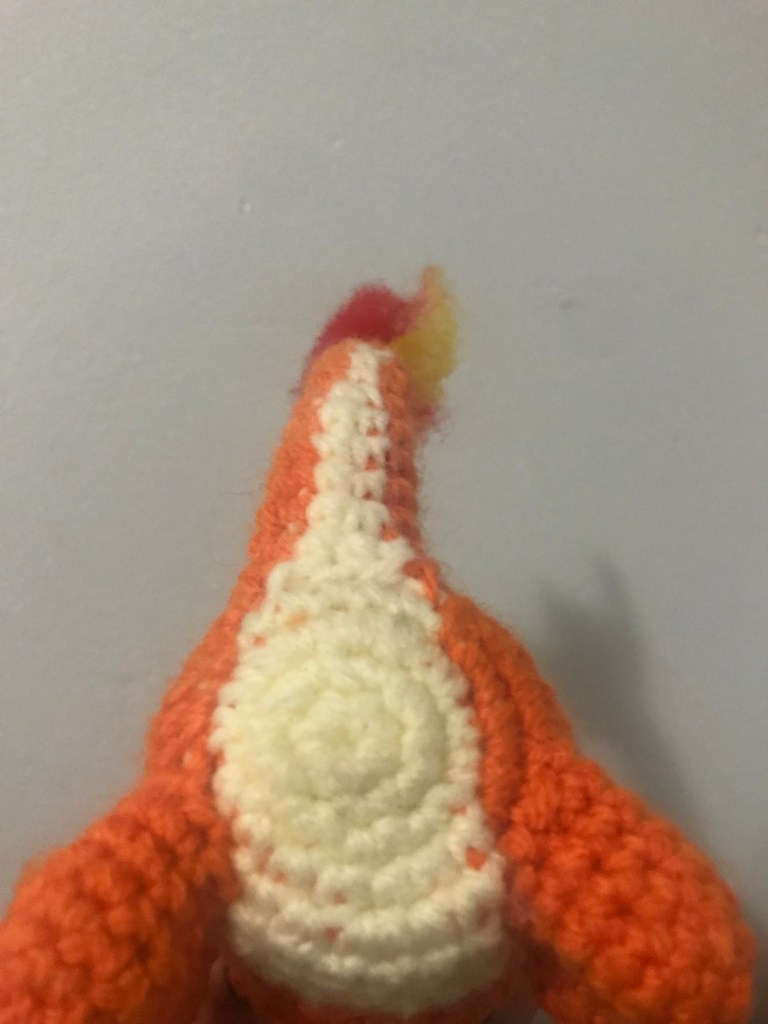
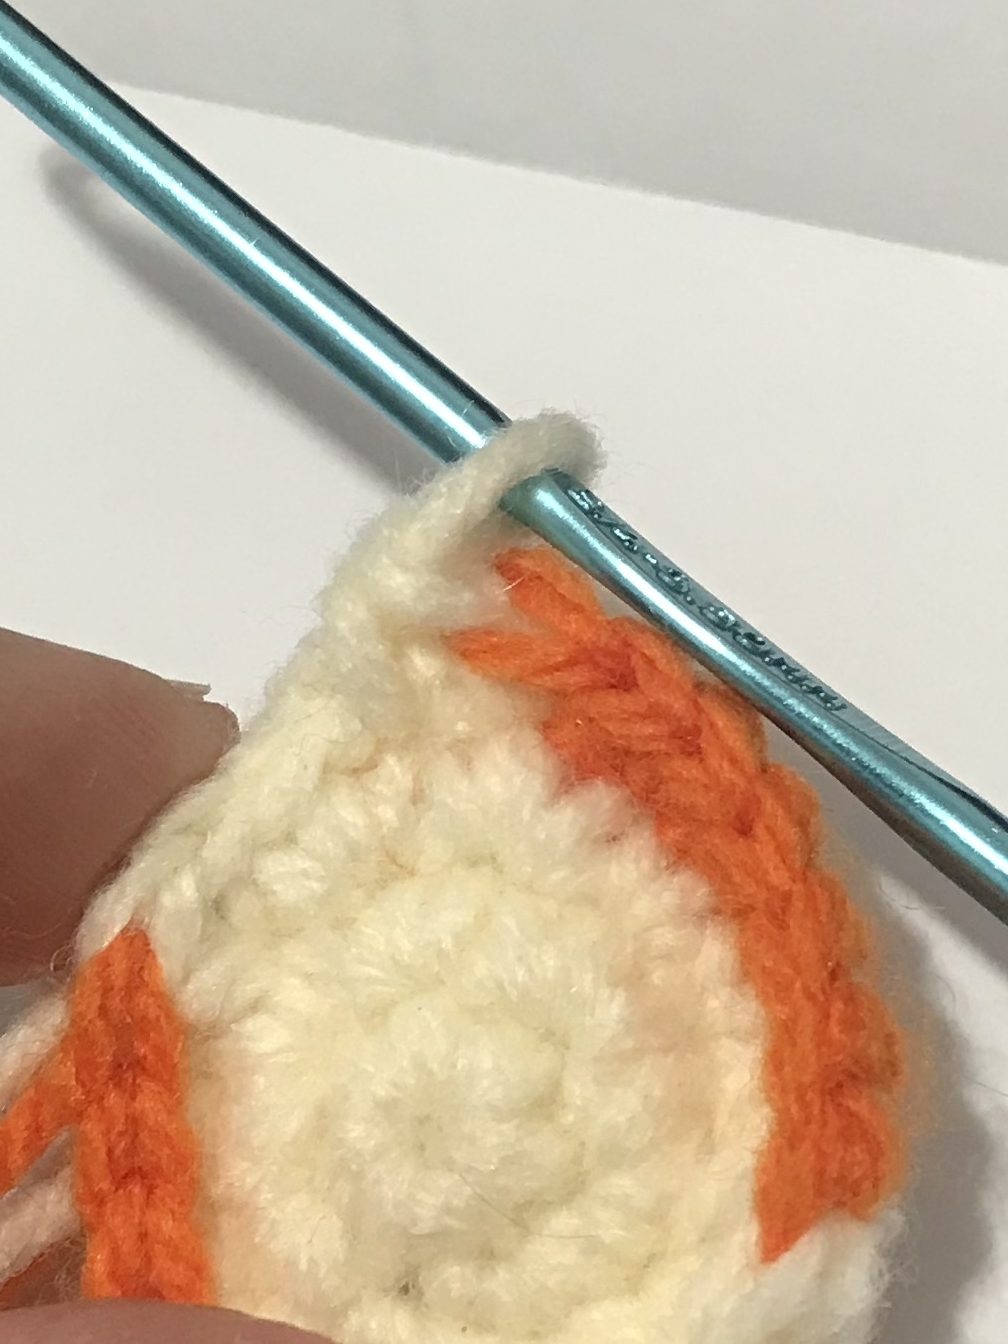
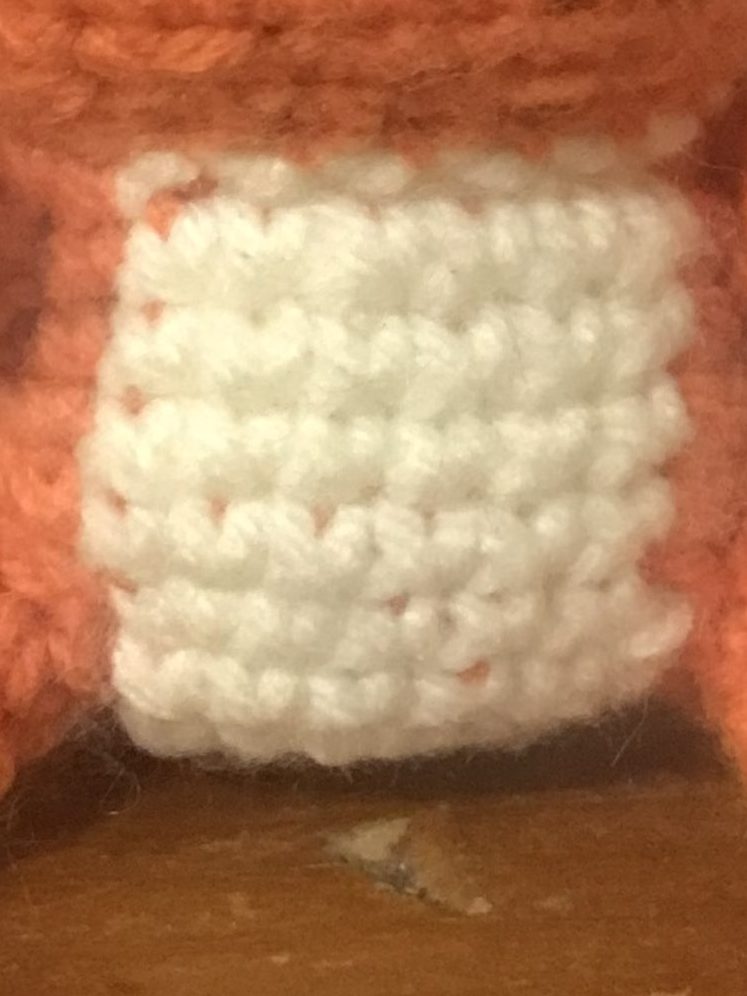
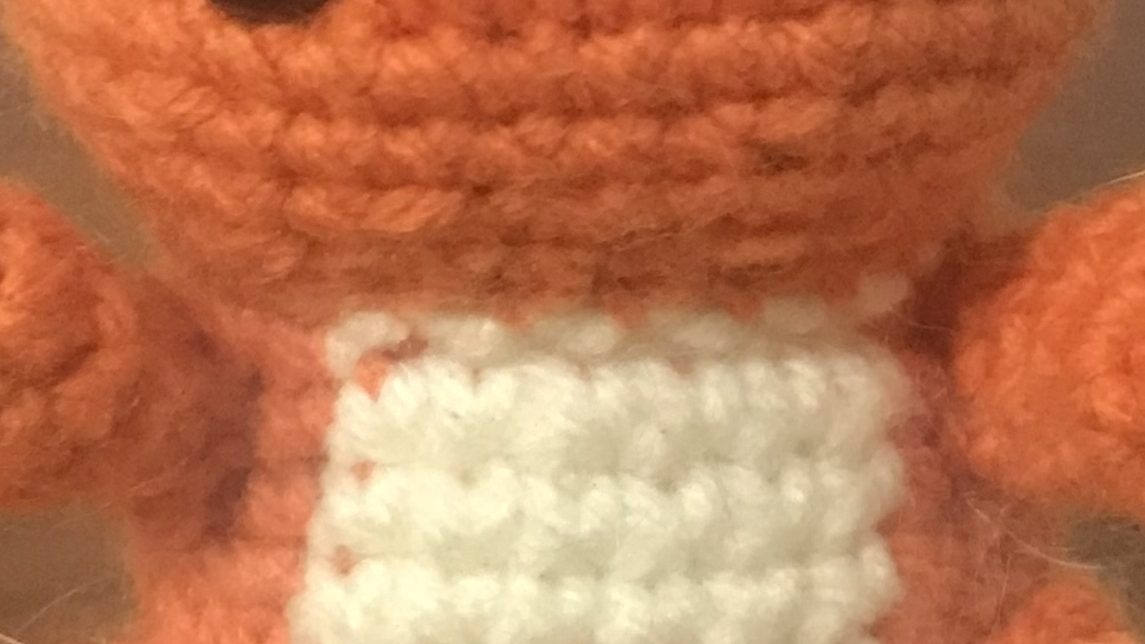
If you completed the Tsc at the top of the chest on the body piece you should have a clean border to make it look neater. I am always a numpty and forget to do this so please view a photo of what not to below.
The chest should give you easy markers on where to attach the legs and arms. Again if you read my Abra post I leave 6 sc on row 5 between the legs and 8 sc between the arms on row 10/11.
And that’s it! Provided you follow the rest of the pattern from 53 Stitches then you should have a Charmander whose cream belly extends down the tail! Hope you enjoyed the pattern and feel free to post your creation on socials!

Leave a comment