First off my deepest apologies on the delay in getting this pattern out.
You guys voted & this was the winner!! I’ll be loading the next voting options up soon. Out of the two early bug Pokémon in first Gen this little guy was always my pick. I think because I didn’t have to worry about being poisoned!!! What about you?
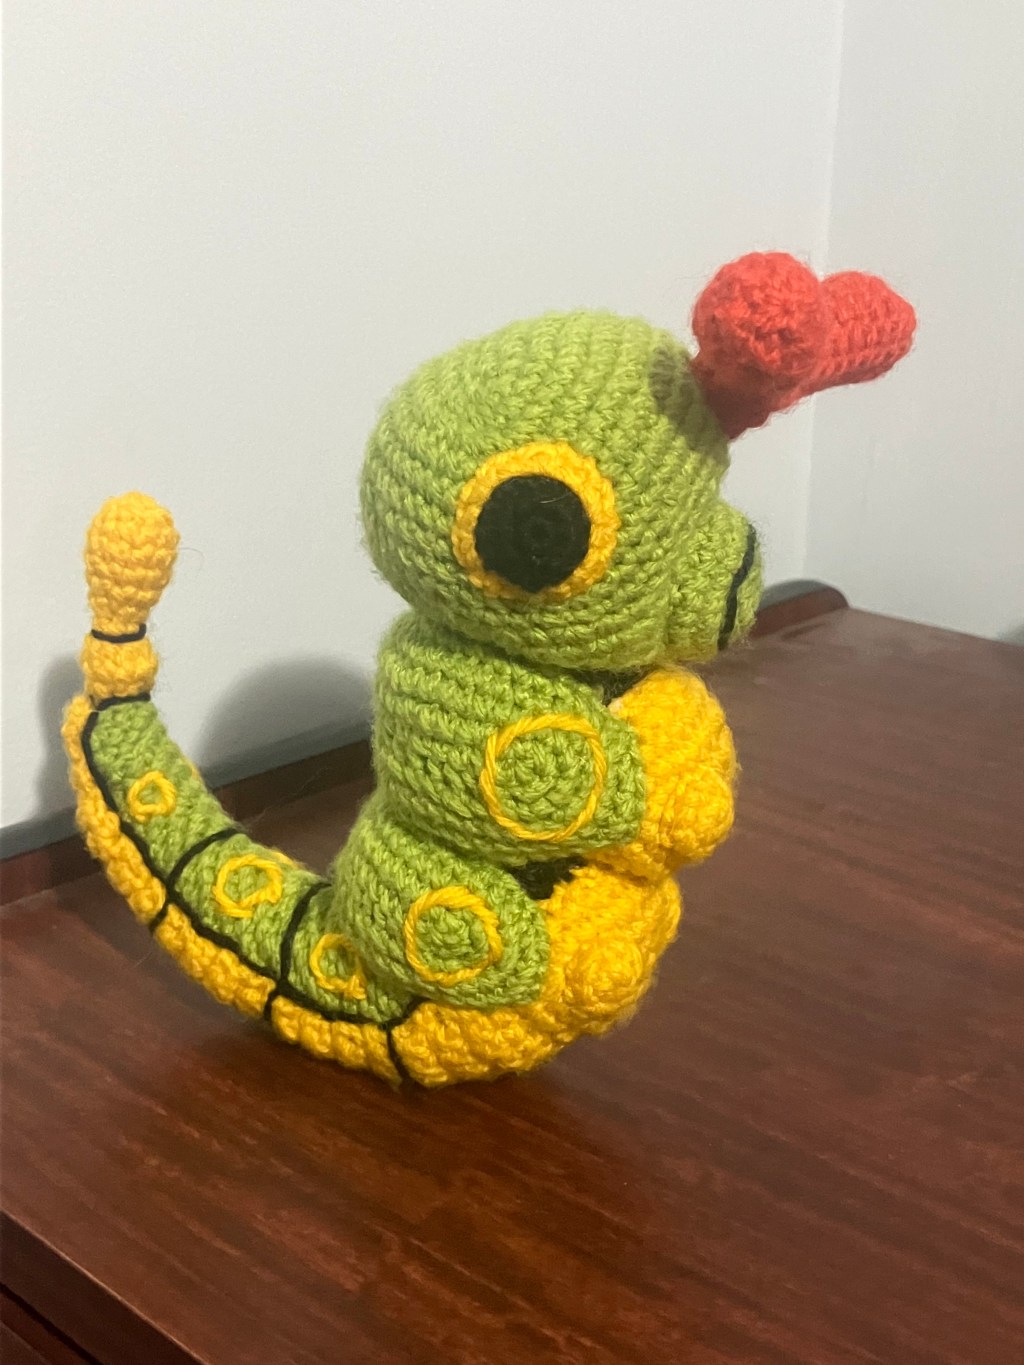
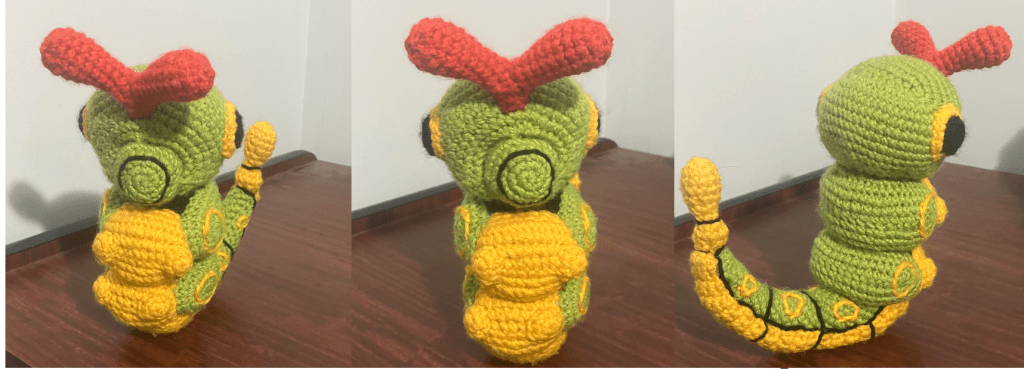
This guy was a tricky little guy to get the way I wanted. My first draft I was semi happy with but I struggled increasing the size of the head and back but still keeping it smallish and in proportion.
It is one of my biggest patterns I’ve done however now I have done it I am a little happy with how it all turned out. Guess I needed to trust the process.
For this pattern you will need to be comfortable sewing parts on and completing embroidery. I would put it currently as my most difficult pattern to do and this is based on assembly more than anything. It can be tricky ensuring all the parts are in place and completing the body shaping.
Lastly if you’re interested in the pdf. version then you’ll find it on my Patreon along with all my other patterns. Currently as of this post on 8th April 2024 membership is only $2 AUD a month. If you’re wondering why so cheap it’s because while I want to upload a pattern a month because this isn’t a full time job for me getting content out monthly has been a little difficult and I’ve found it’s around a bi-monthly basis.
Anyway lets get into it
Abbreviations (US):
Sc: Single crochet
MR X: Magic Ring with X amount of sc in it
Ch: Chain
ss: Slip stitch
Inc: Increase by 2
Inc X: Increase by X
Dec: Decrease
3 tog: 3 together – loop the next 3 front loops, yarn over & pull through 3, yarn over & pull through 2
T: Turn – turn your piece so you start working in the opposite direction – usually 180 degrees
R: Round
X(…) : Repeat stitches within parentheses X times
X[Sk]: Skip X amount of stitches
Tools and Materials:
● 3.5 mm E/4 Crochet hook
● tapestry needle and scissors
● polyester fiberfill stuffing
● Weight – ~60g
● Optional – 22 mm Amber safety eyes
● Yarn:
○ Green (G) – Panda Magnum 8PLY Lime Sorbet COL 1004
○ Black (B) – Panda Magnum 8PLY Black COL 0318
○ Yellow (Y) – Panda Magnum 8PLY Inca Gold COL 0336
○ Red (R) – Panda Magnum 8PLY Fire COL 2043
Final Size: ~16.5cm tall (not including antenna)
Technical Notes and Gauge:
- If there is something specific about a section, I will note it there and it is only applicable to that section.
- Crochet in continuous spiral rounds, unless specified otherwise. Use a stitch marker or piece of yarn to keep track of the last stitch in each round. I usually pull the tail of the MR through when needed as my stitch marker.
- When turning (T) and completing the next stitch always skip the first stitch from the hook. This may be a chain or the last stitch of the previous round/notation.
- This pattern has colour changes between rows. You need to be comfortable completing these. Remember we swap colours during the stitch before the noted change.
- If multiple colours are used I will note in superscript which colour to complete the crochet in. eg. 2scY, scG, 3scY = x2 sc in yellow, x1 in green then x3 in yellow. Find the superscript abbreviation in the Yarn section of Tools & Materials.
a. If I do not note the colour of a row assume it is the same colour as the previous row/last known colour - When filling with polyester stuffing, pull apart each large chunk into many smaller chunks. This ensures an even distribution of firmness within the amigurumi.
a. You will need to fill as you are making/attaching each part and not all at once. - Use sewing pins to secure parts of the amigurumi before you sew them.
- Gauge: 5 rows of 5 sc = 1” x 1” or ~2.5cm x 2.5cm
- Stitch count will be summarized at the end of each row in brackets
- There are some images at the end of here to help you with certain sections. Please refer to them if you struggle/want reference for any parts – will be noted as (Fig X) at end of Row/sentence.
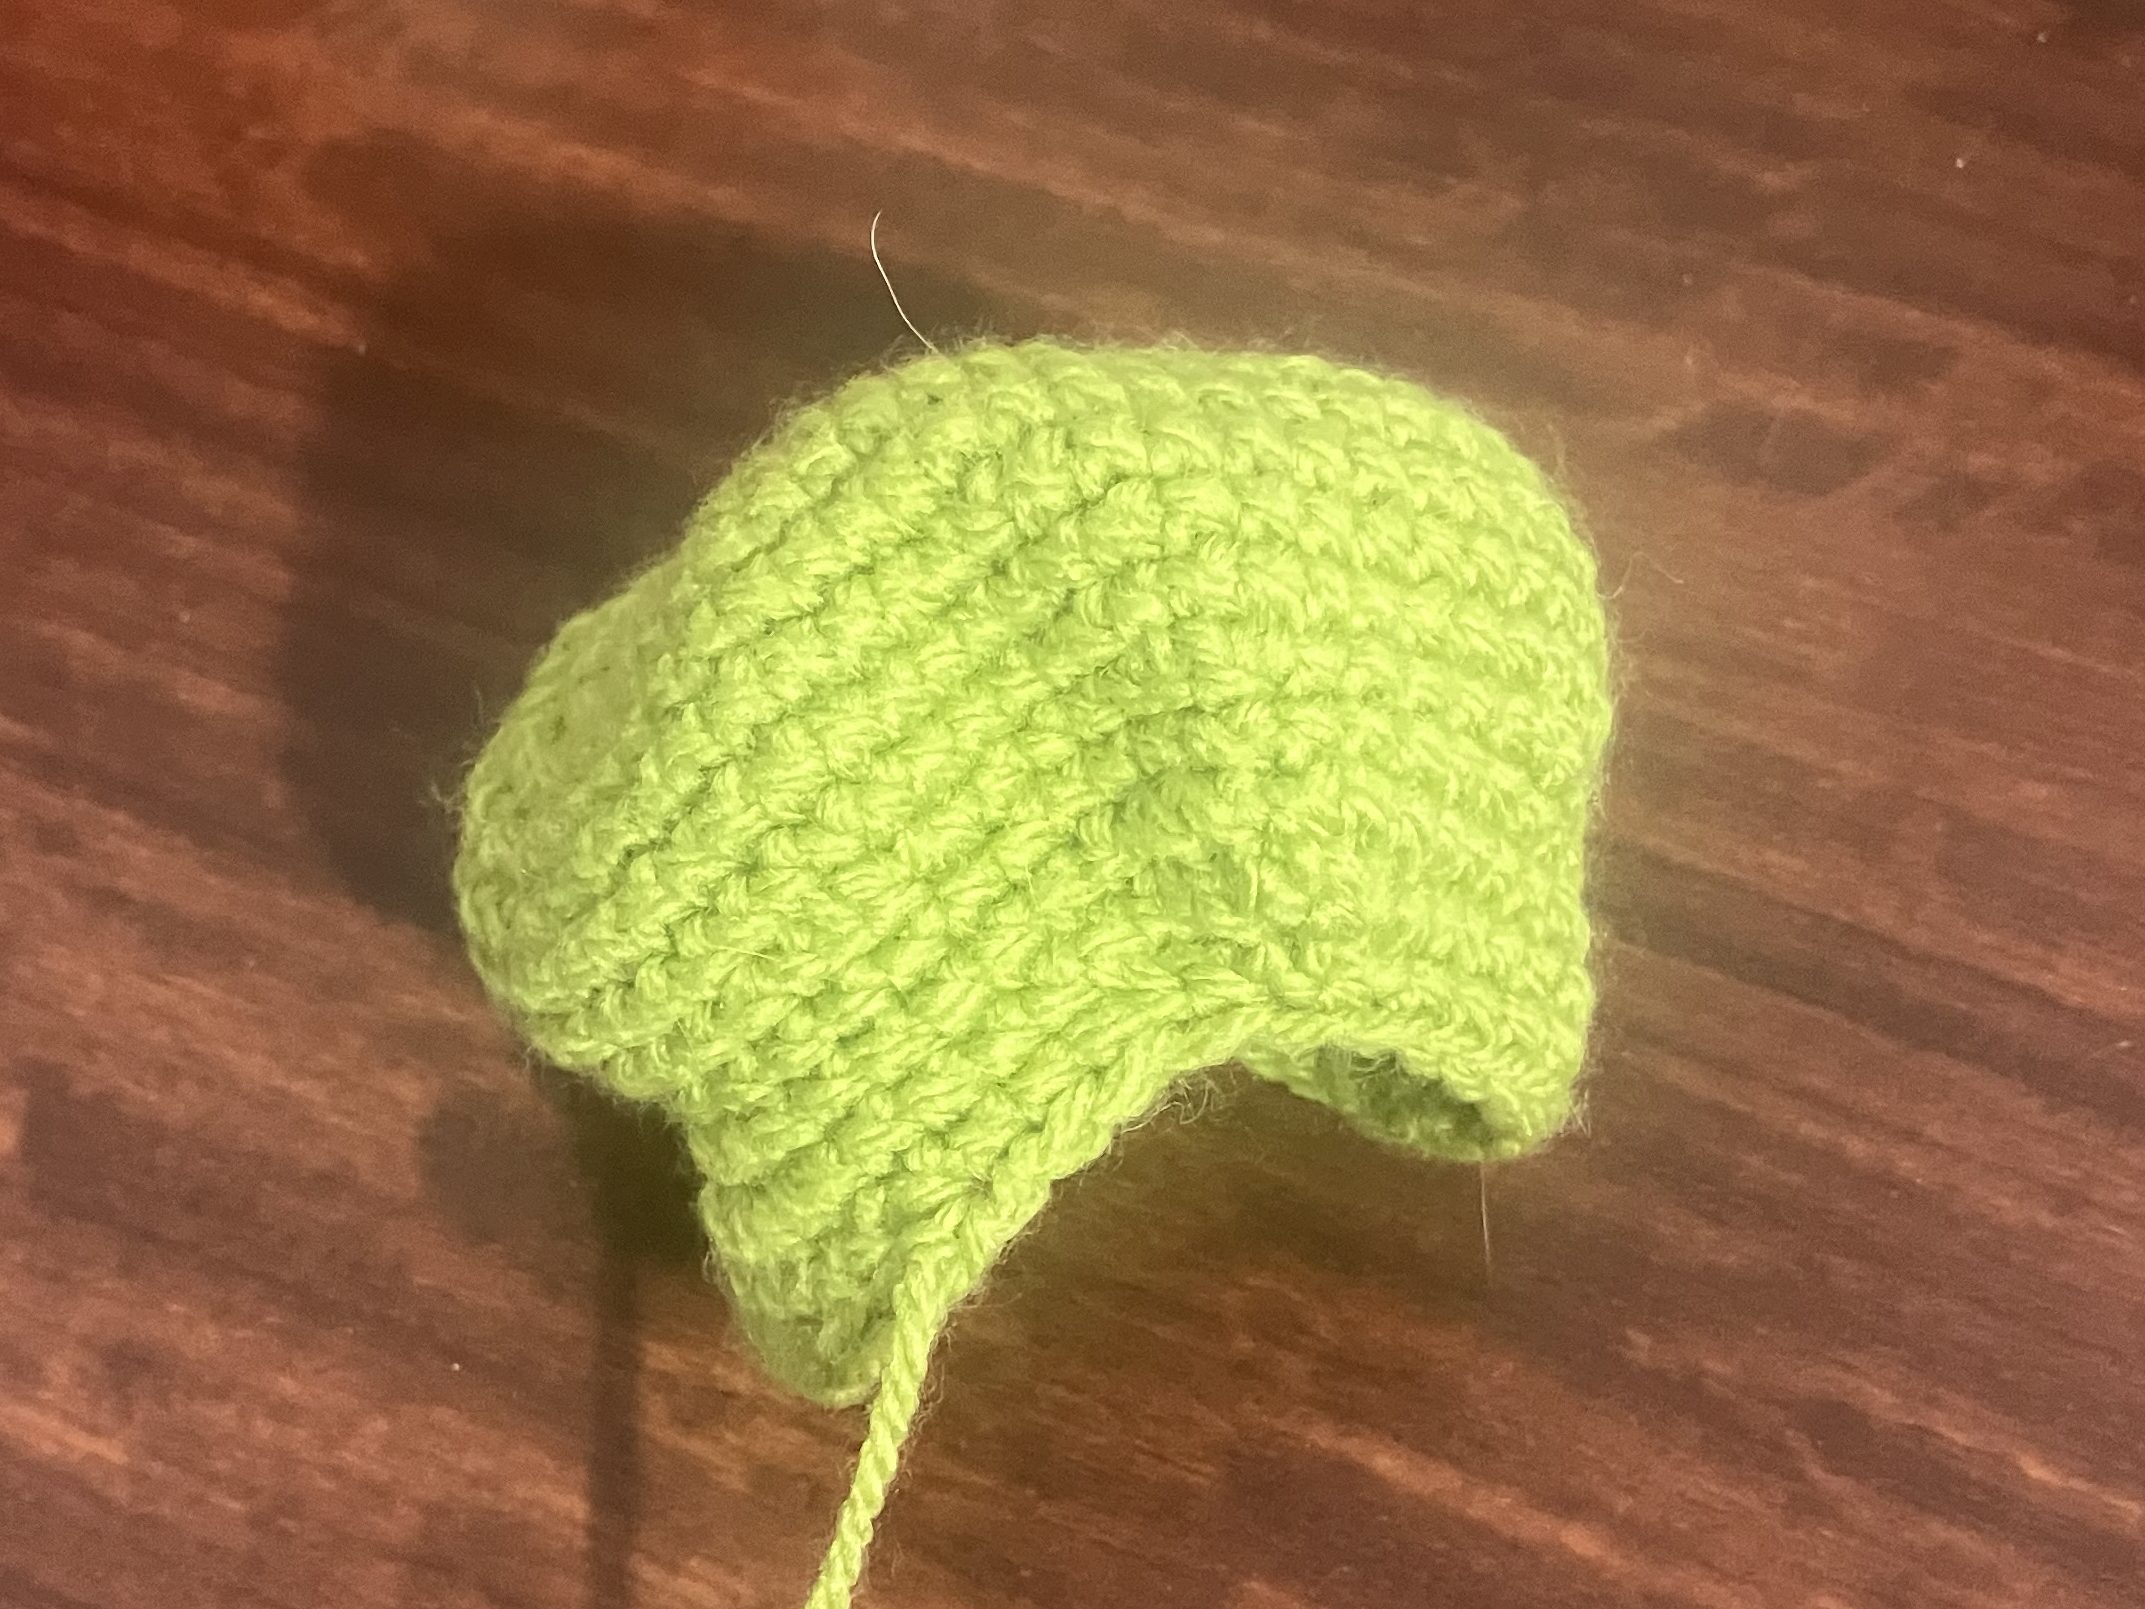
Head
Make 1
Colours used: Green
● R1: 9ch, T, 7sc, 3[inc], 6sc, inc (18)
● R2: 2(inc, 3(sc, inc), 2[inc]) (30)
● R3: 2(inc, 3(2sc, inc, sc), 2[inc]) (42)
● R4: 2(inc, 18sc, 2[inc]) (48)
● R5: 2(inc, 21sc, 2[inc]) (54)
● R6-9: 54sc (54)
● R10: sc, 3(3sc, 3 tog, 2sc), 3sc, 3(3sc, dec, 3sc), 3sc (45)
● R11: 19sc, 3[inc], 3(2sc, dec, 3sc), 3inc
● R12: 18sc, 3[inc] 4sc, dec, 4sc, 2[dec], 4sc, dec, 4sc, 3inc
● R13: 6sc, 2[3 tog], 10sc, 6(2sc, dec), 4sc (40)
● R14: 4sc, 2[3 tog], 7sc, 4(sc, dec, 2sc), 3ss (32)
Finish off. Leave enough tail to attach to body – this will be a very long tail. (~30cm)
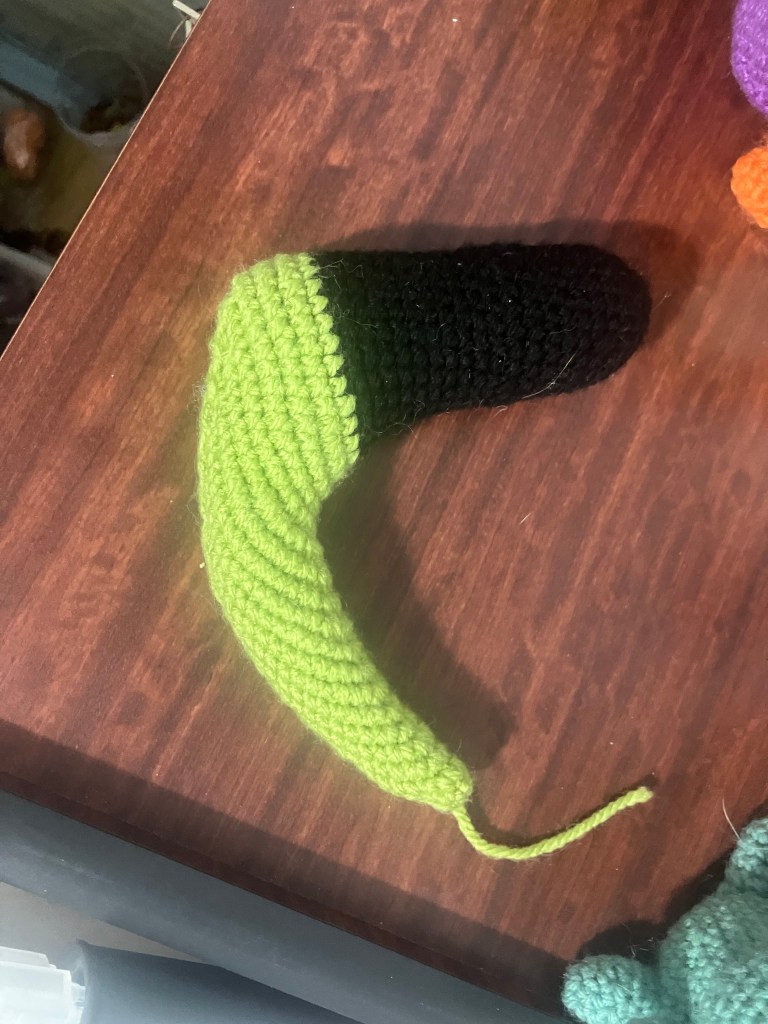
Body
Make 1
Colours used: Black & Green
● R1: MR 6B (6)
● R2: inc x6 (12)
● R3: 6(inc, sc) (18)
● R4: 6(inc, 2sc) (24)
● R5-22: 24sc (24)
● R23: 6(inc, 3sc) (30)
● R24: 30scG (30)
● R25: 18sc, 3(sc, inc), 3(inc, sc) (36)
● R26-27: 36sc (36)
● R28: 2sc, dec, 2[3 tog], dec, 9sc, 6(inc), 9sc (36)
● R29: dec 2[3 tog], dec, 8 sc, 6[inc]. 12sc (36)
● R30: dec, 3 tog, dec, 12sc, 6[inc], 8sc, 3 tog (36)
● R31: 3 tog, dec, 12sc, 4[inc], 12sc, 3 tog (35)
● R32: 3 tog, dec, 12sc, 4[inc], 11sc, 3 tog (34)
● R33: 3 tog, dec, 11sc, 4[inc], 9sc, dec, 3 tog (32)
● R34: 3 tog, dec, 10sc, 4[inc0, 8sc, dec, 3 tog (30)
● R35: 3 tog, dec, 9sc, 4[inc], 7sc, dec, 3 tog (28)
● R36: 3 tog, dec, 8sc, 4[inc], 6sc, dec, 3 tog (26)*
● R37: 3 tog, dec, 7sc, 4[inc], 5sc, dec, 3 tog (24)
● R38: 3 tog, dec, 6sc, 4[inc], 4sc, dec, 3 tog (22)
● R39: 3 tog, dec, 5sc, 4[inc], 3sc, dec, 3 tog (20)
● R40: 3 tog, dec, 4sc, 4[inc], 2sc, dec, 3 tog (18)
● R41: 2[3 tog], 9sc, 3 tog (12)
● R42: 6[dec] (6)
Finish off and loop tail through the front loop of each tail and pull together like a drawstring bag. Hide tail in body. *Note if you are not confident in your weight do not close your body.
*Place weight here
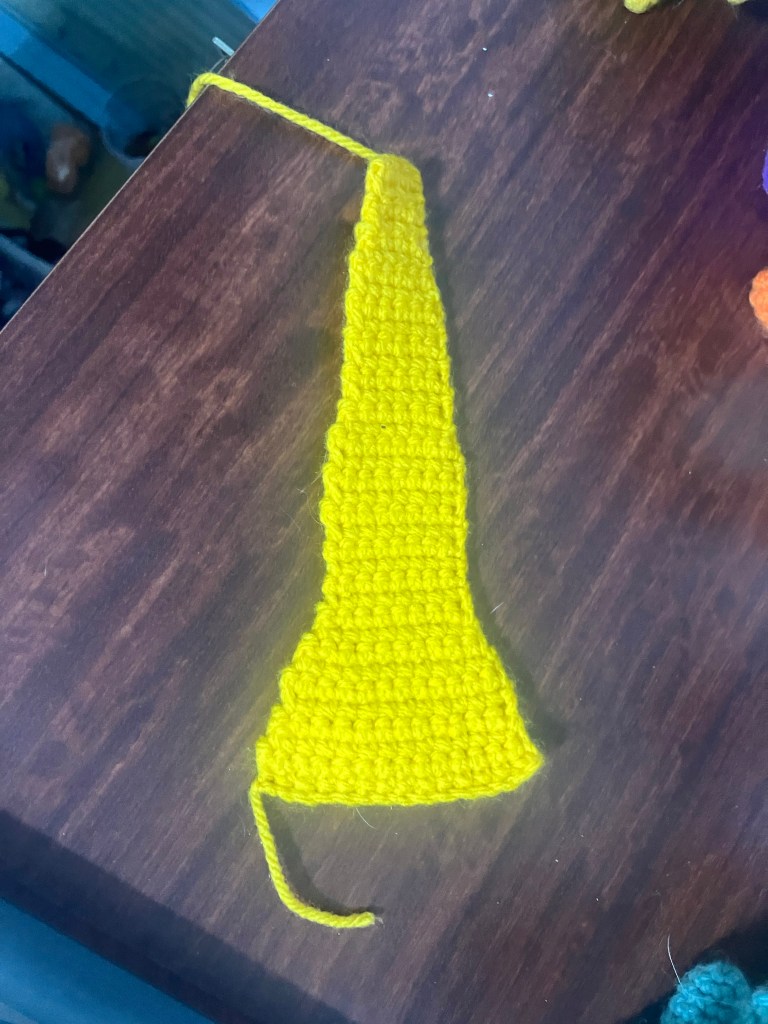
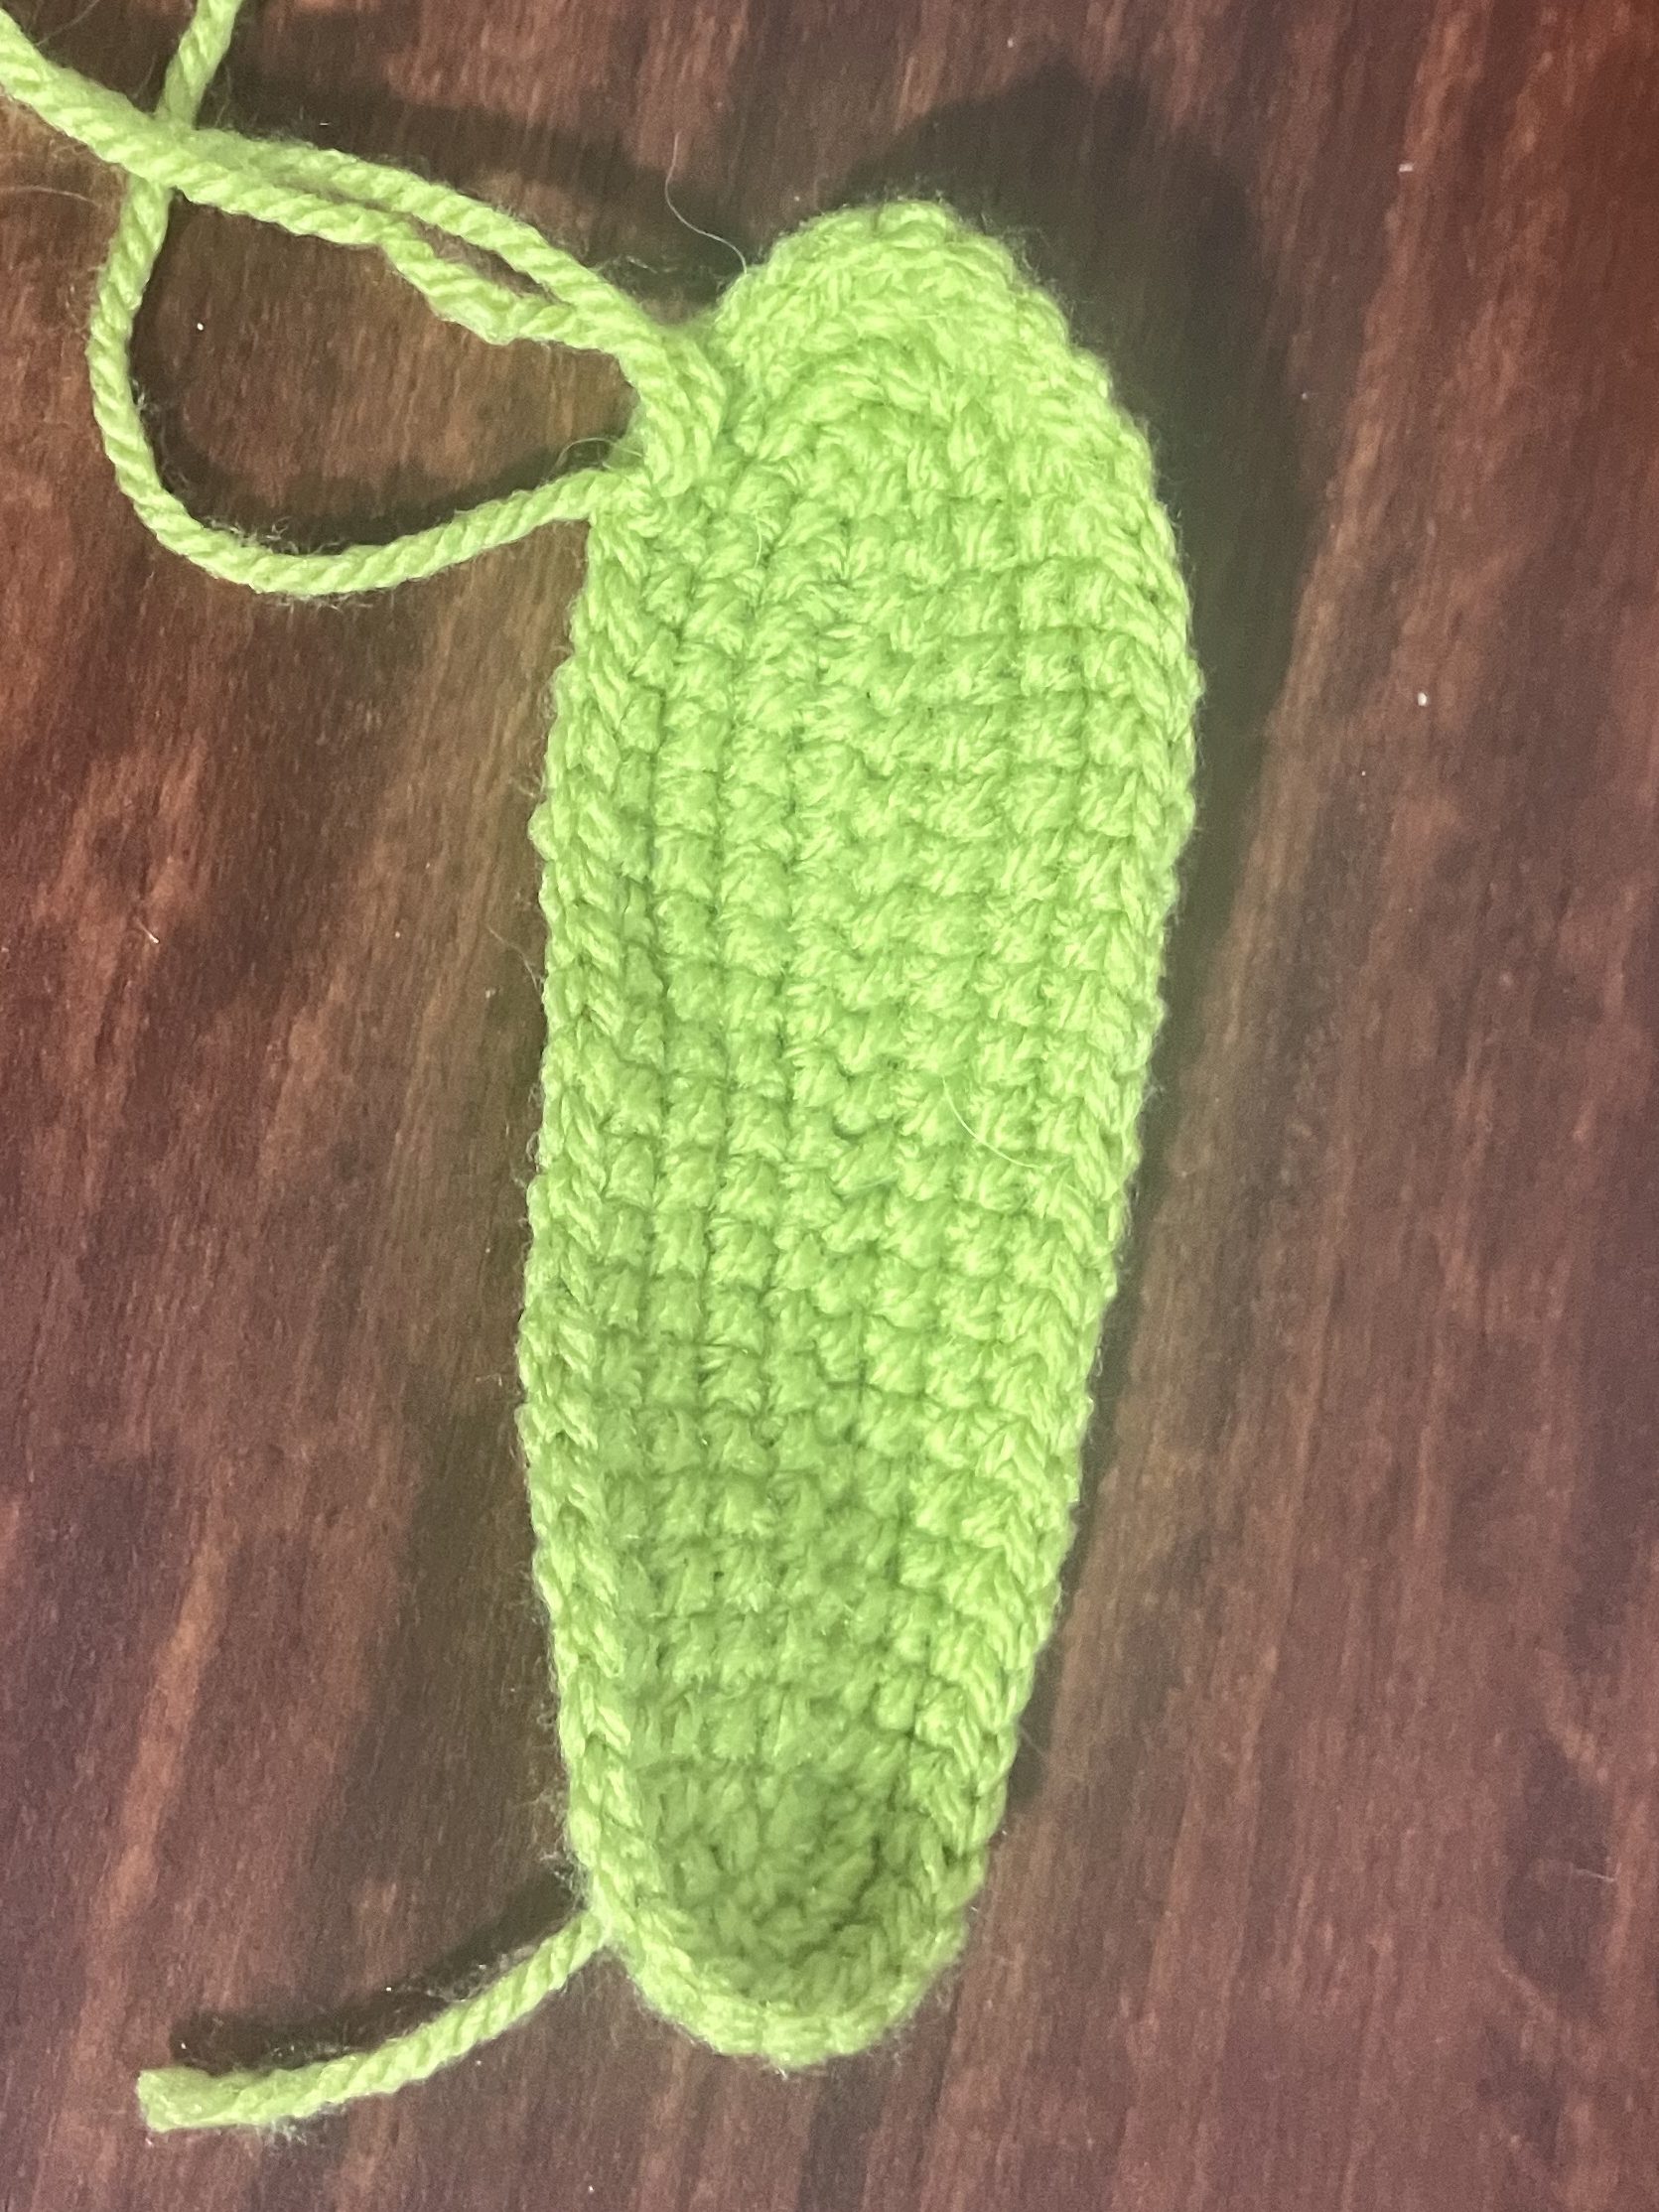
Tail Belly
Make 1
Colours used: Yellow
● R1: ch 15, T, 14sc (14)
● R2: ch, T, 14sc (14)
● R3: T, 13sc (13)
● R4: T, 12 sc (12)
● R5-6: ch, T, 12 sc (12)
● R7: T, 11sc (11)
● R8: T, 10sc (10)
● R9: T, 9sc (9)
● R10: T, 8sc (8)
● R11-20 : ch, T, 8sc (8)
● R21: T, 7sc (7)
● R22: T, 6sc (6)
● R23-30: ch, T, 6sc (6)
● R31: T, 5sc (5)
● R32: T, 4sc (4)
● R33-36: ch, T, sc4 (4)
Finish off with enough tail to attach to the body
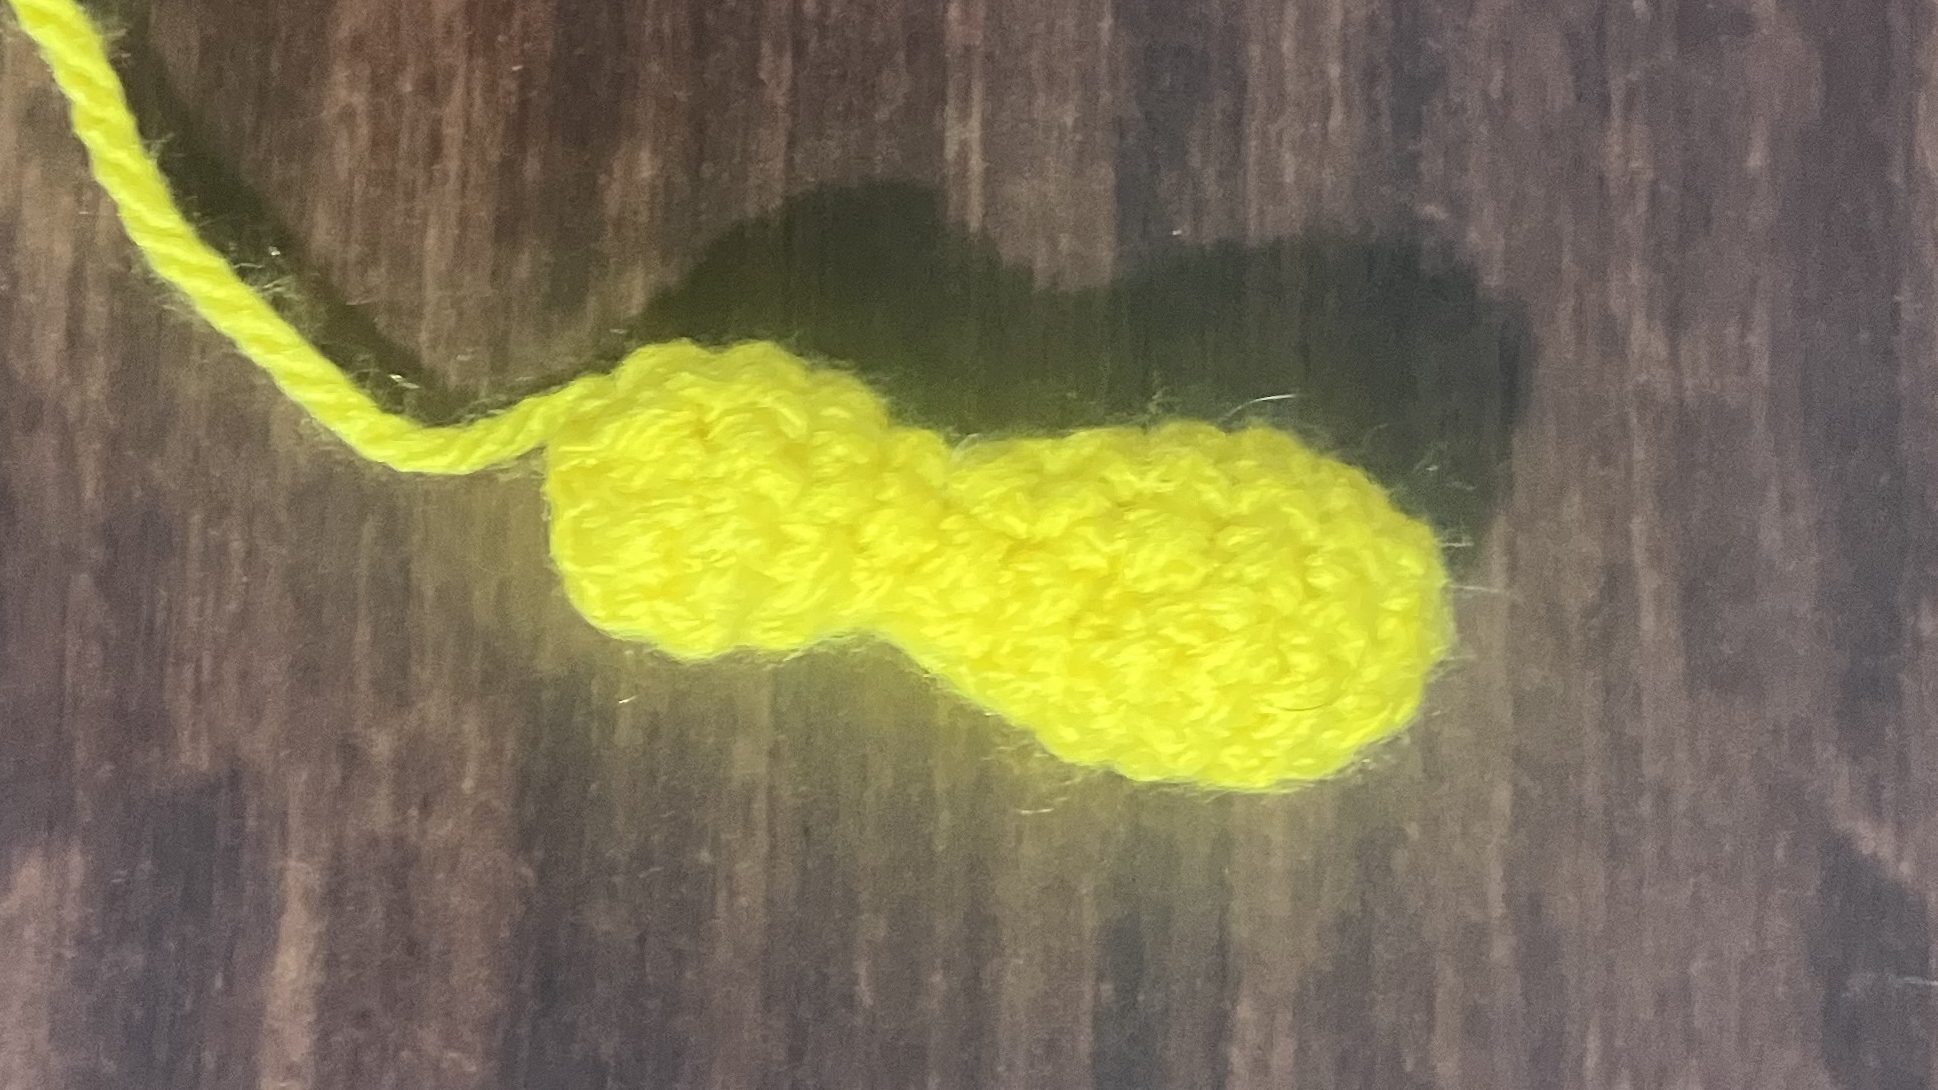
Tail End
Make 1
Colours used: Yellow
Note: Stuff the piece at the end of R6. Do not stuff second ball of tail at end of R11. It should hold it’s shape
● R1: MR 6 (6)
● R2: 3inc, sc
● R3: 3(2sc, inc) (12)
● R4: 12sc (12)
● R5: 2(dec, 4sc) (10)
● R6: 2(sc, dec, 2sc) (8)*
● R7: 2(2sc, dec) (6)
● R8: 6sc (6)
● R9: 6[inc] (12)
● R10: 12sc (12)
● R11: 6[dec] (6)
Finish off and loop tail through the front loop of each stitch and pull together like a drawstring bag. Ensure the remaining tail is long enough to attach to the body.
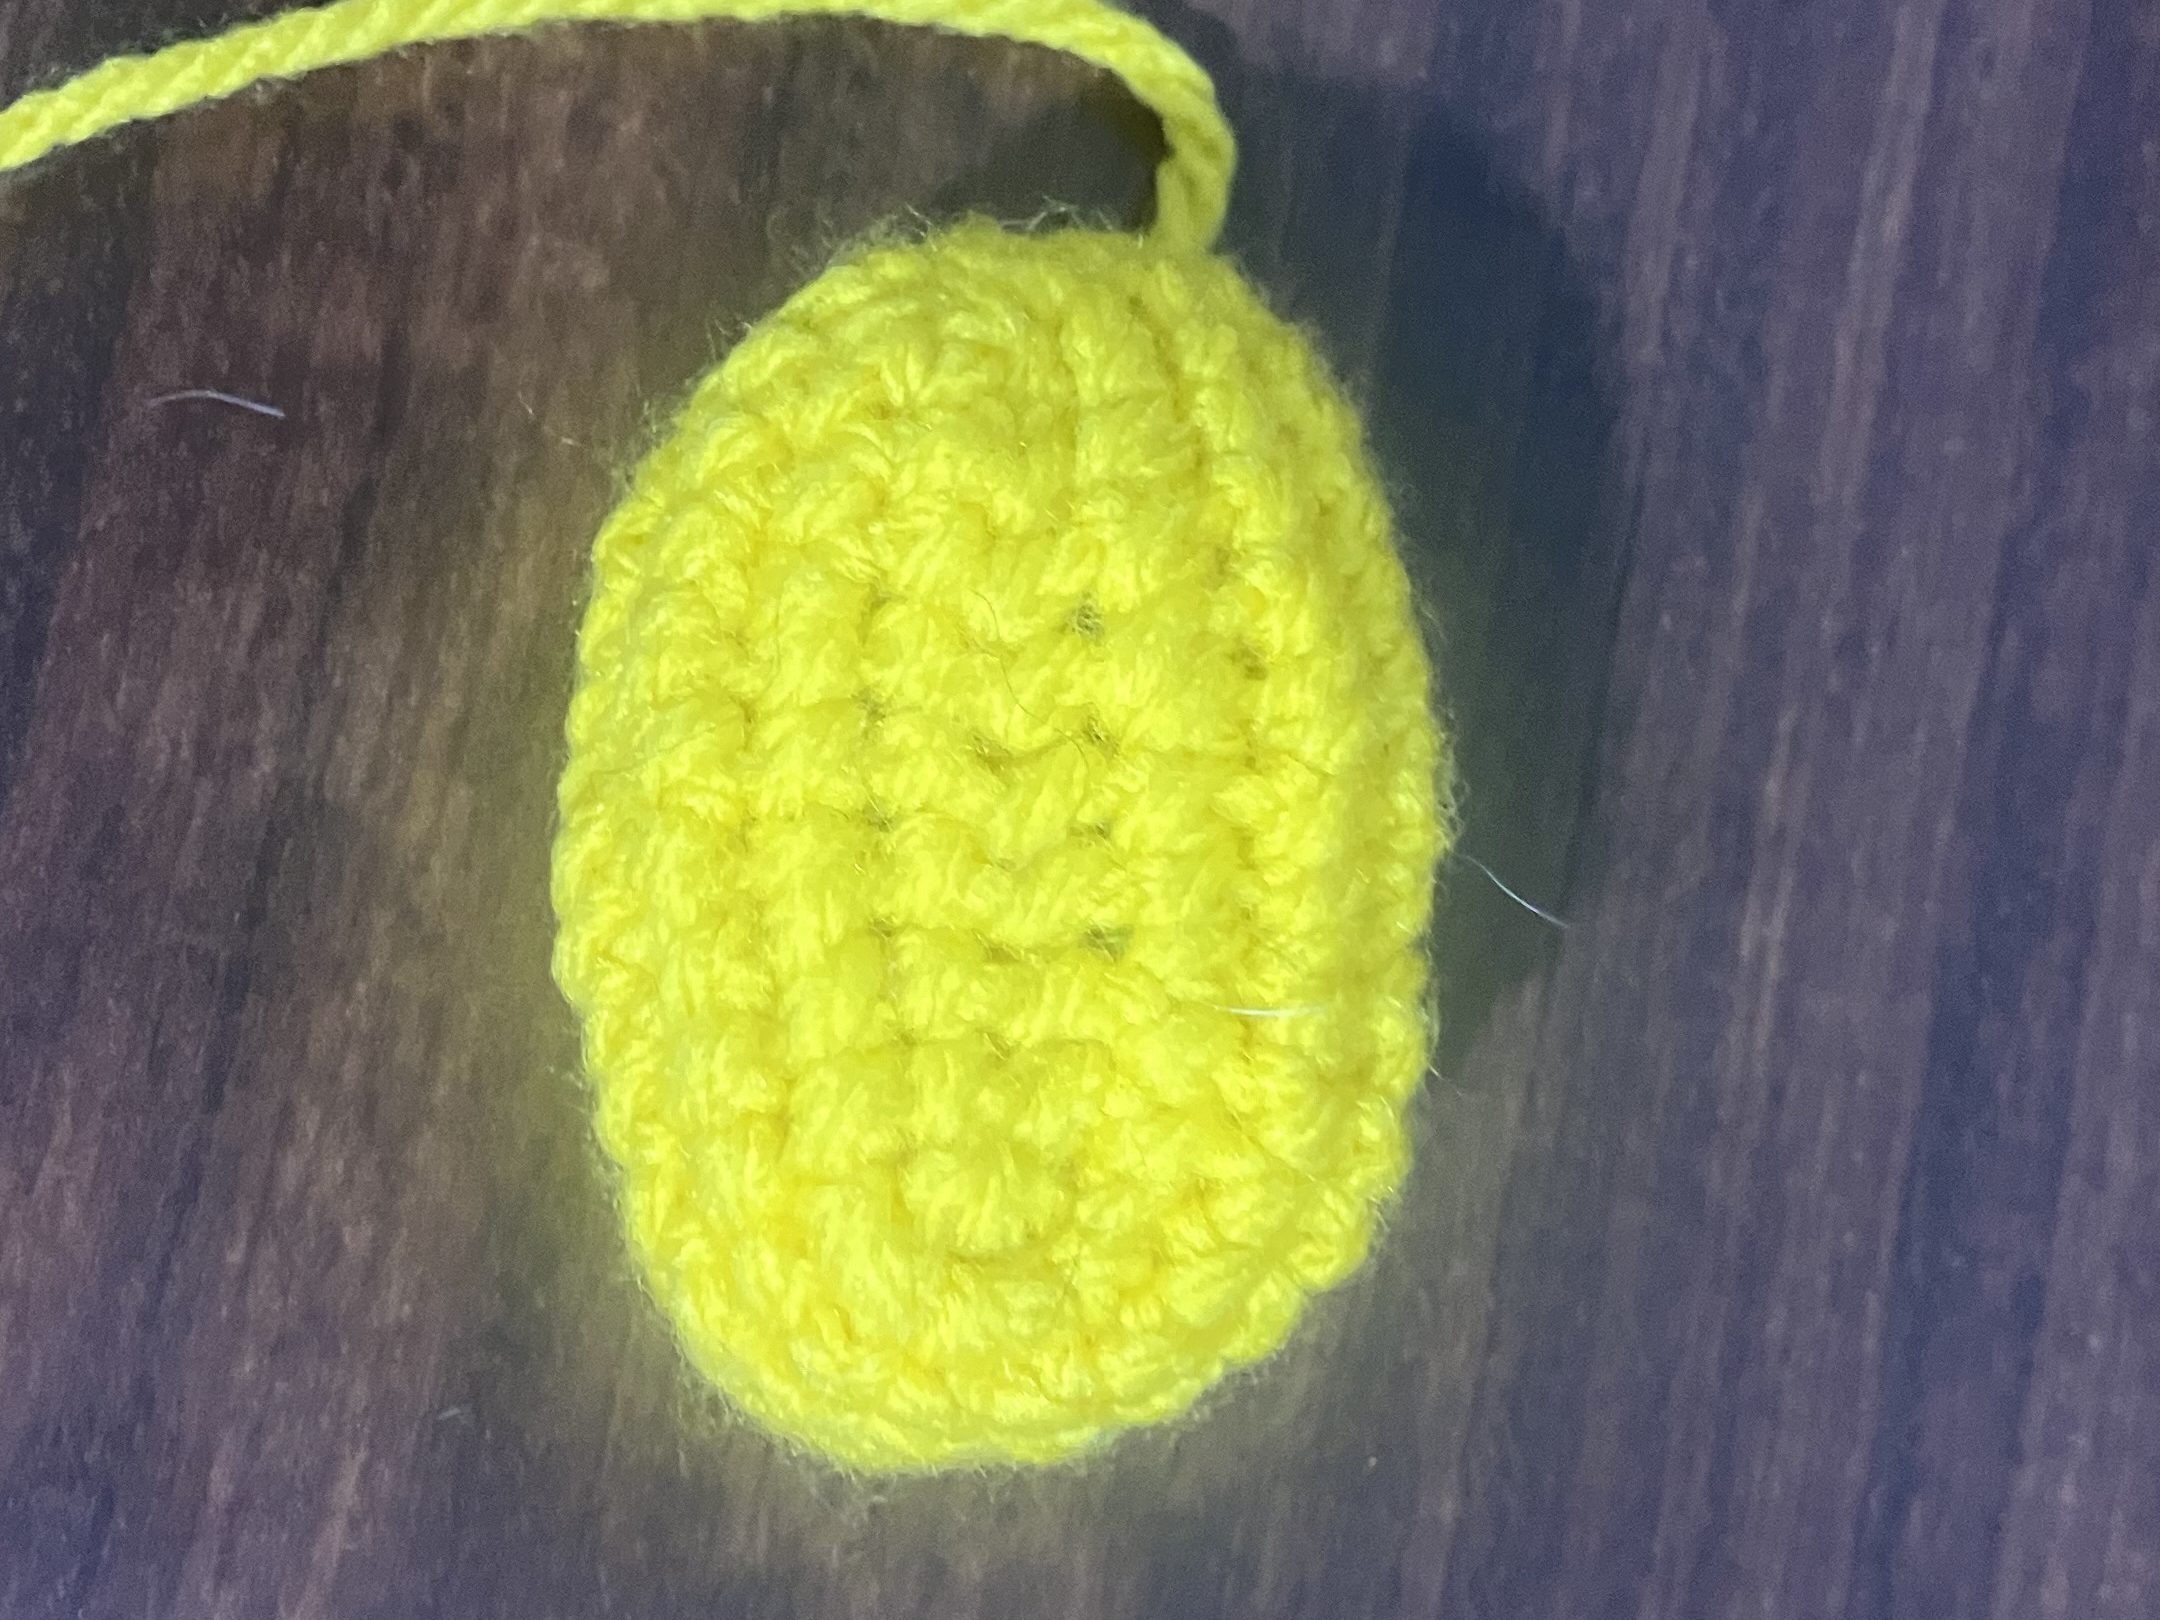
Chest Pieces
Bottom Front Chest:
Make 1
Colours used: Yellow
● R1: 8ch, T, 6sc, inc 3, 5sc, inc, (16)
● R2: sc, 2(2sc, inc, 2sc, 3[inc]) (24)
● R3: 2(3sc, inc, 4sc, 3[inc], sc) (32)
● R4: 32sc (32)
Finish off and leave enough tail to attach to the body
Top Front Chest:
Make 1
Colours used: Yellow
● R1: 10ch, T, 8sc, inc 3, 7sc, inc (20)
● R2: sc, 2(2sc, inc, sc, inc, 2sc, 3[inc]) (30)
● R3: 2(3sc. Inc, sc, inc, 9sc) (34)
● R4: 34sc (34)
● R5: 2(6[dec], 5sc) (22)
● R6: 22sc (22)
Finish off and leave enough tail to attach to the body

Back Pieces
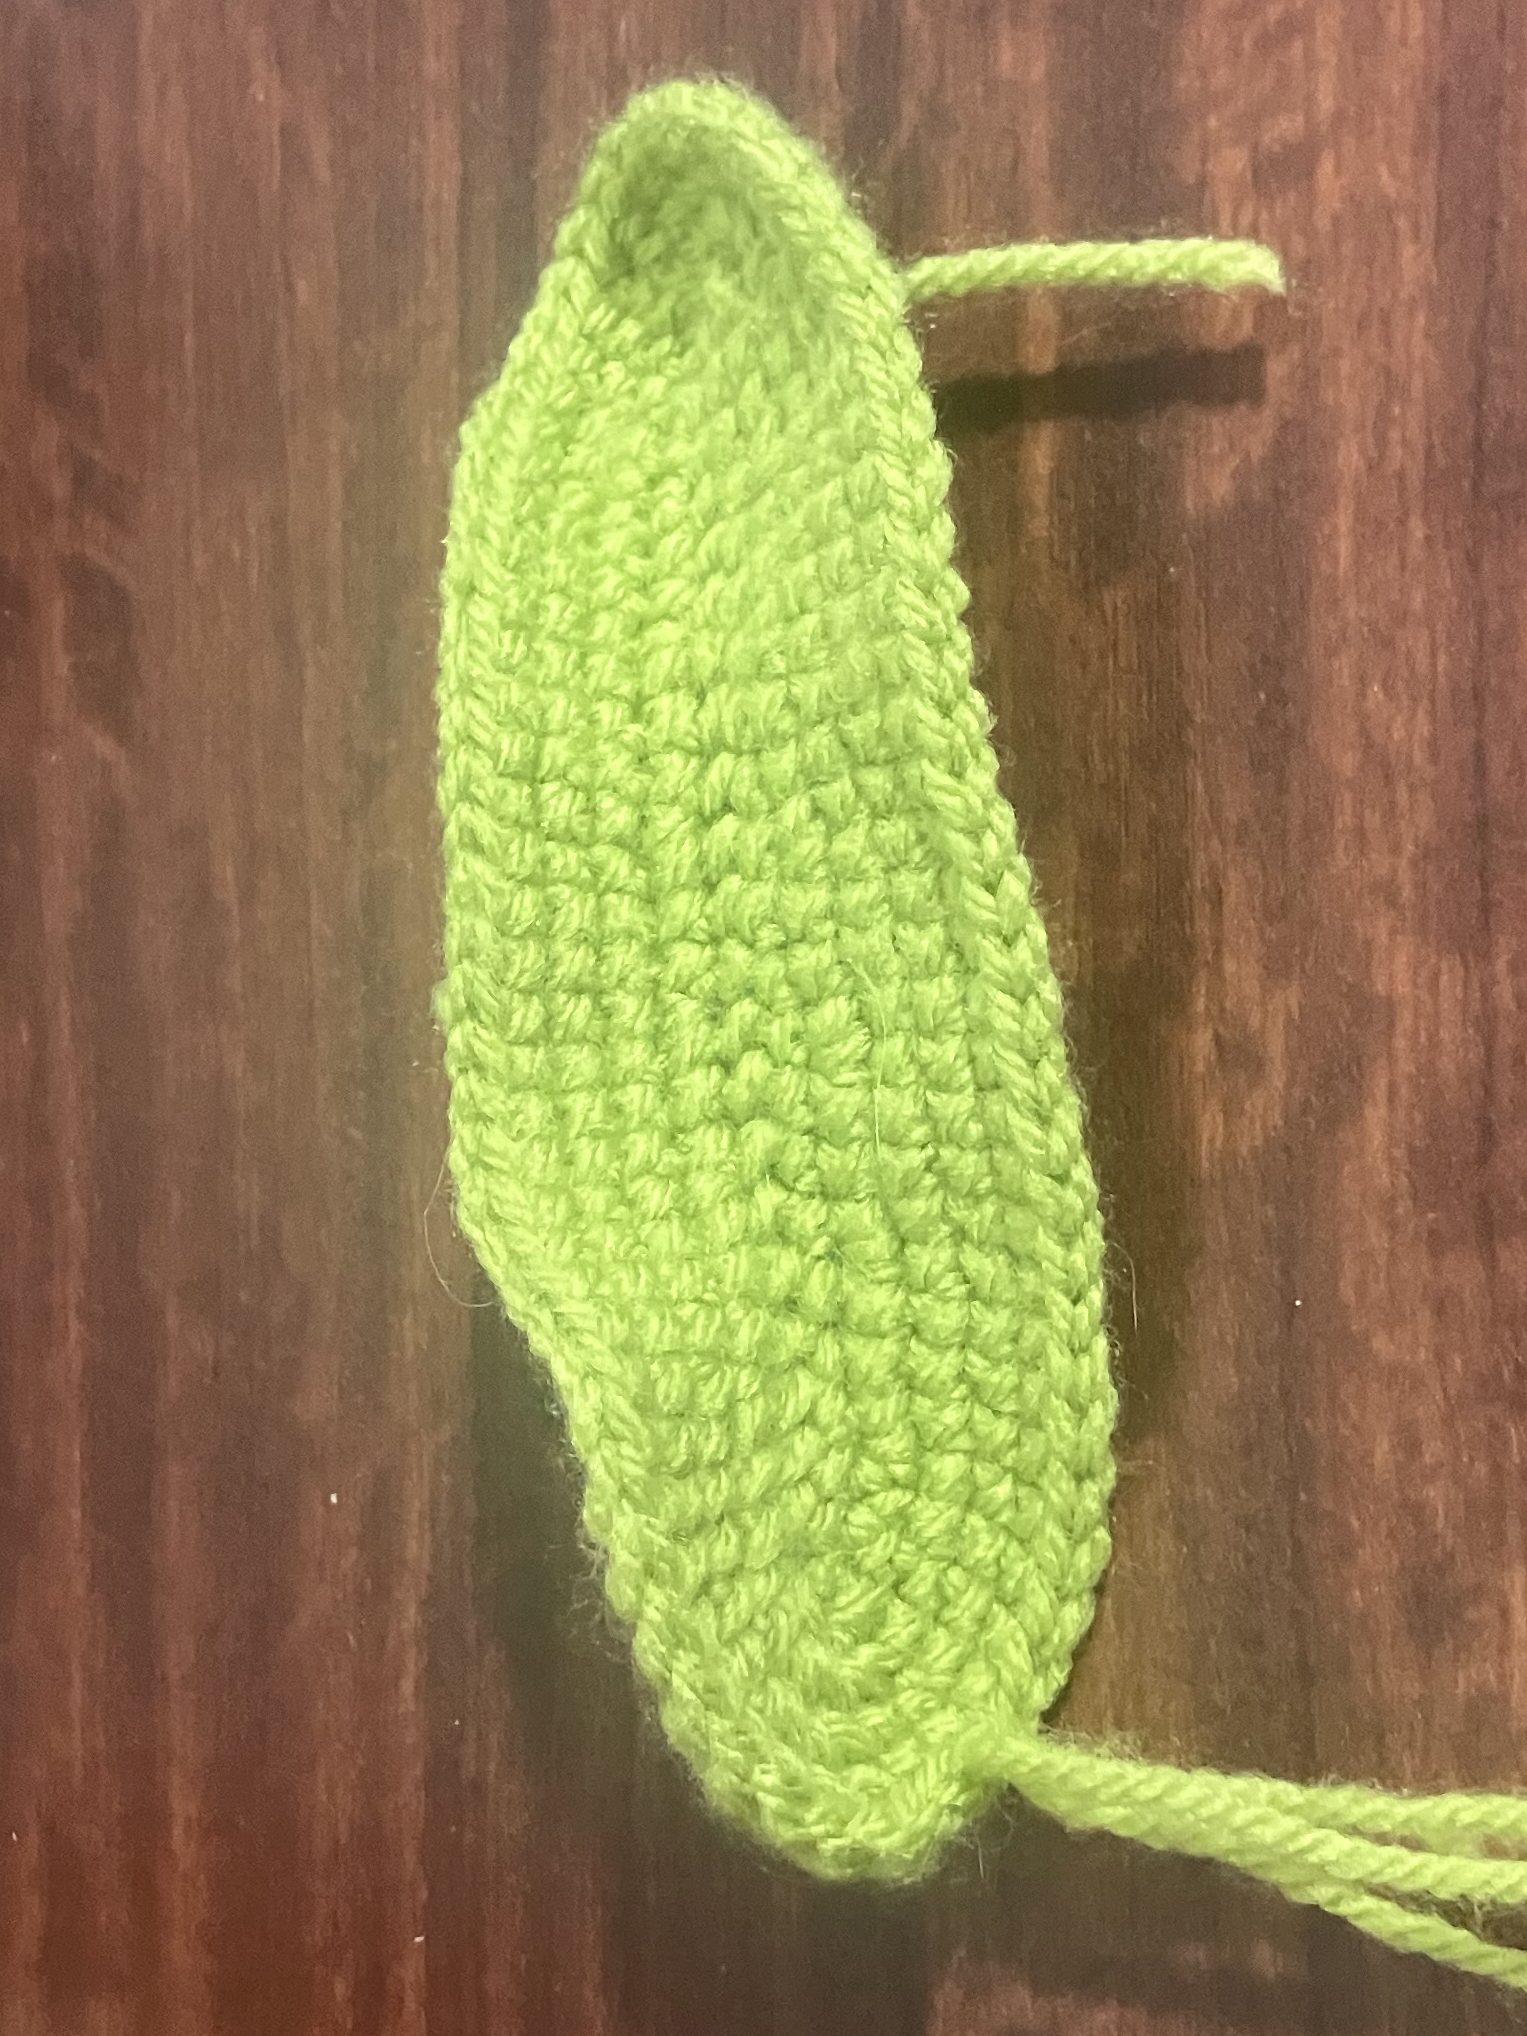
Bottom Back segment:
Make 1
Colours used: Green
● R1: 23ch, T, 21sc, inc 3, 20sc, inc, (46)
● R2: 2(inc, 20sc, 2[inc]) (52)
● R3: 2(inc, 23sc, 2[inc]) (58)
● R4: 58sc
Finish off & leave enough tail to attach to the body – I usually complete a couple sc the a few slip stitch to get the end shaped nicely
Top Back segment:
Make 1
Colours used: Green
● R1: 23ch, T, 21sc, inc 3, 20sc, inc, (46)
● R2: 2(inc, sc, 6(sc, inc, sc), sc, 2[inc]) (64)
● R3: 2(inc, 29sc, 2[inc]) (70)
● R4-5: 70sc
Finish off & leave enough tail to attach to the body – I usually complete a couple sc the a few slip stitch to get the end shaped nicely
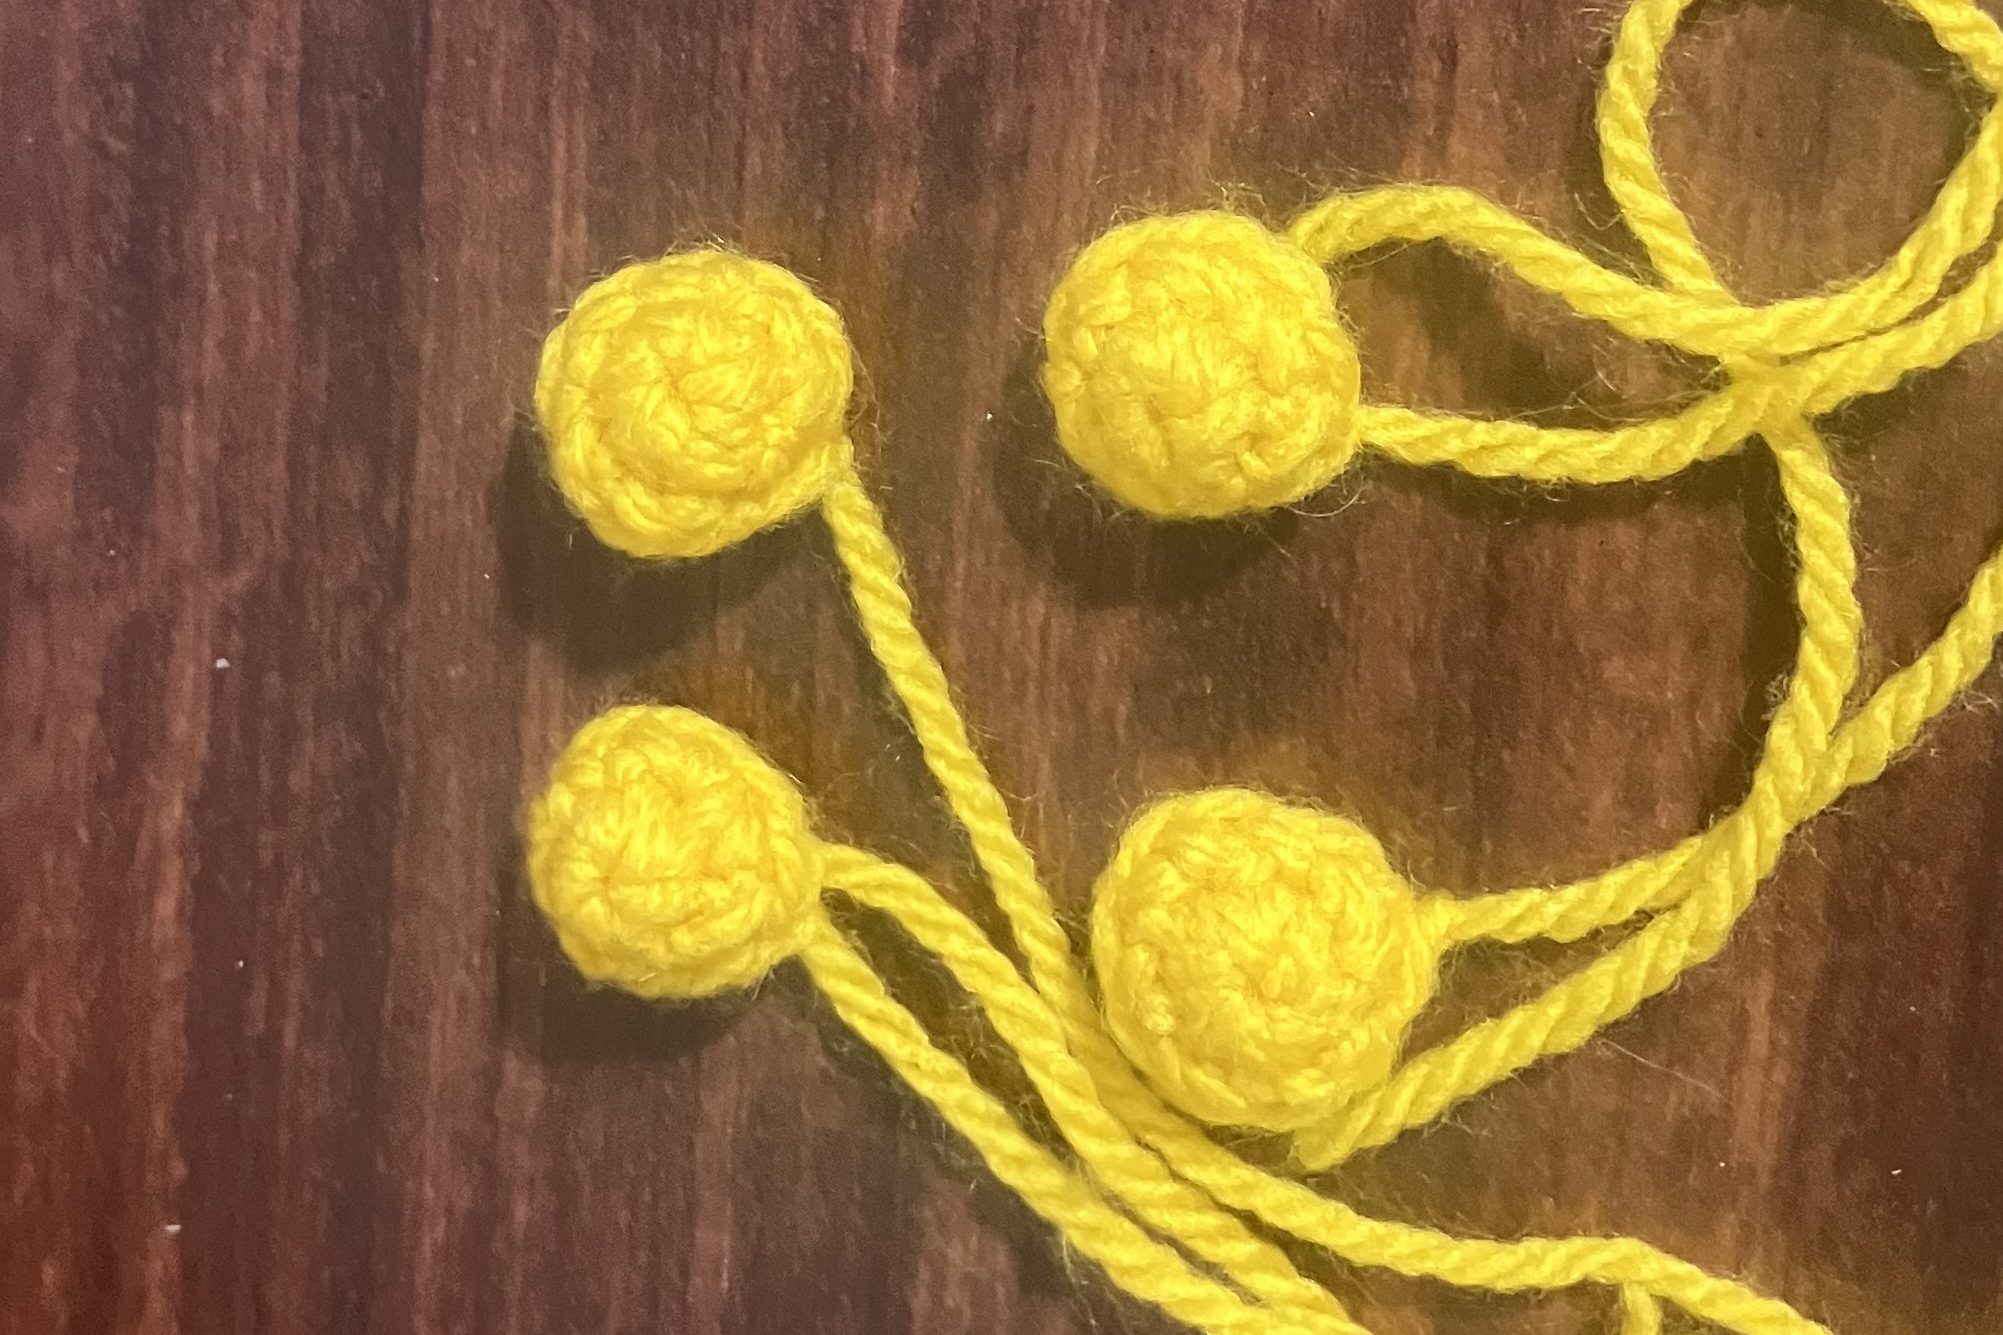
Feet
Make 4
Colours Used: Yellow
● R1: MR 6 (6)
● R2: 3(inc, sc) (9)
Finish off and leave enough tail to attach to the chest
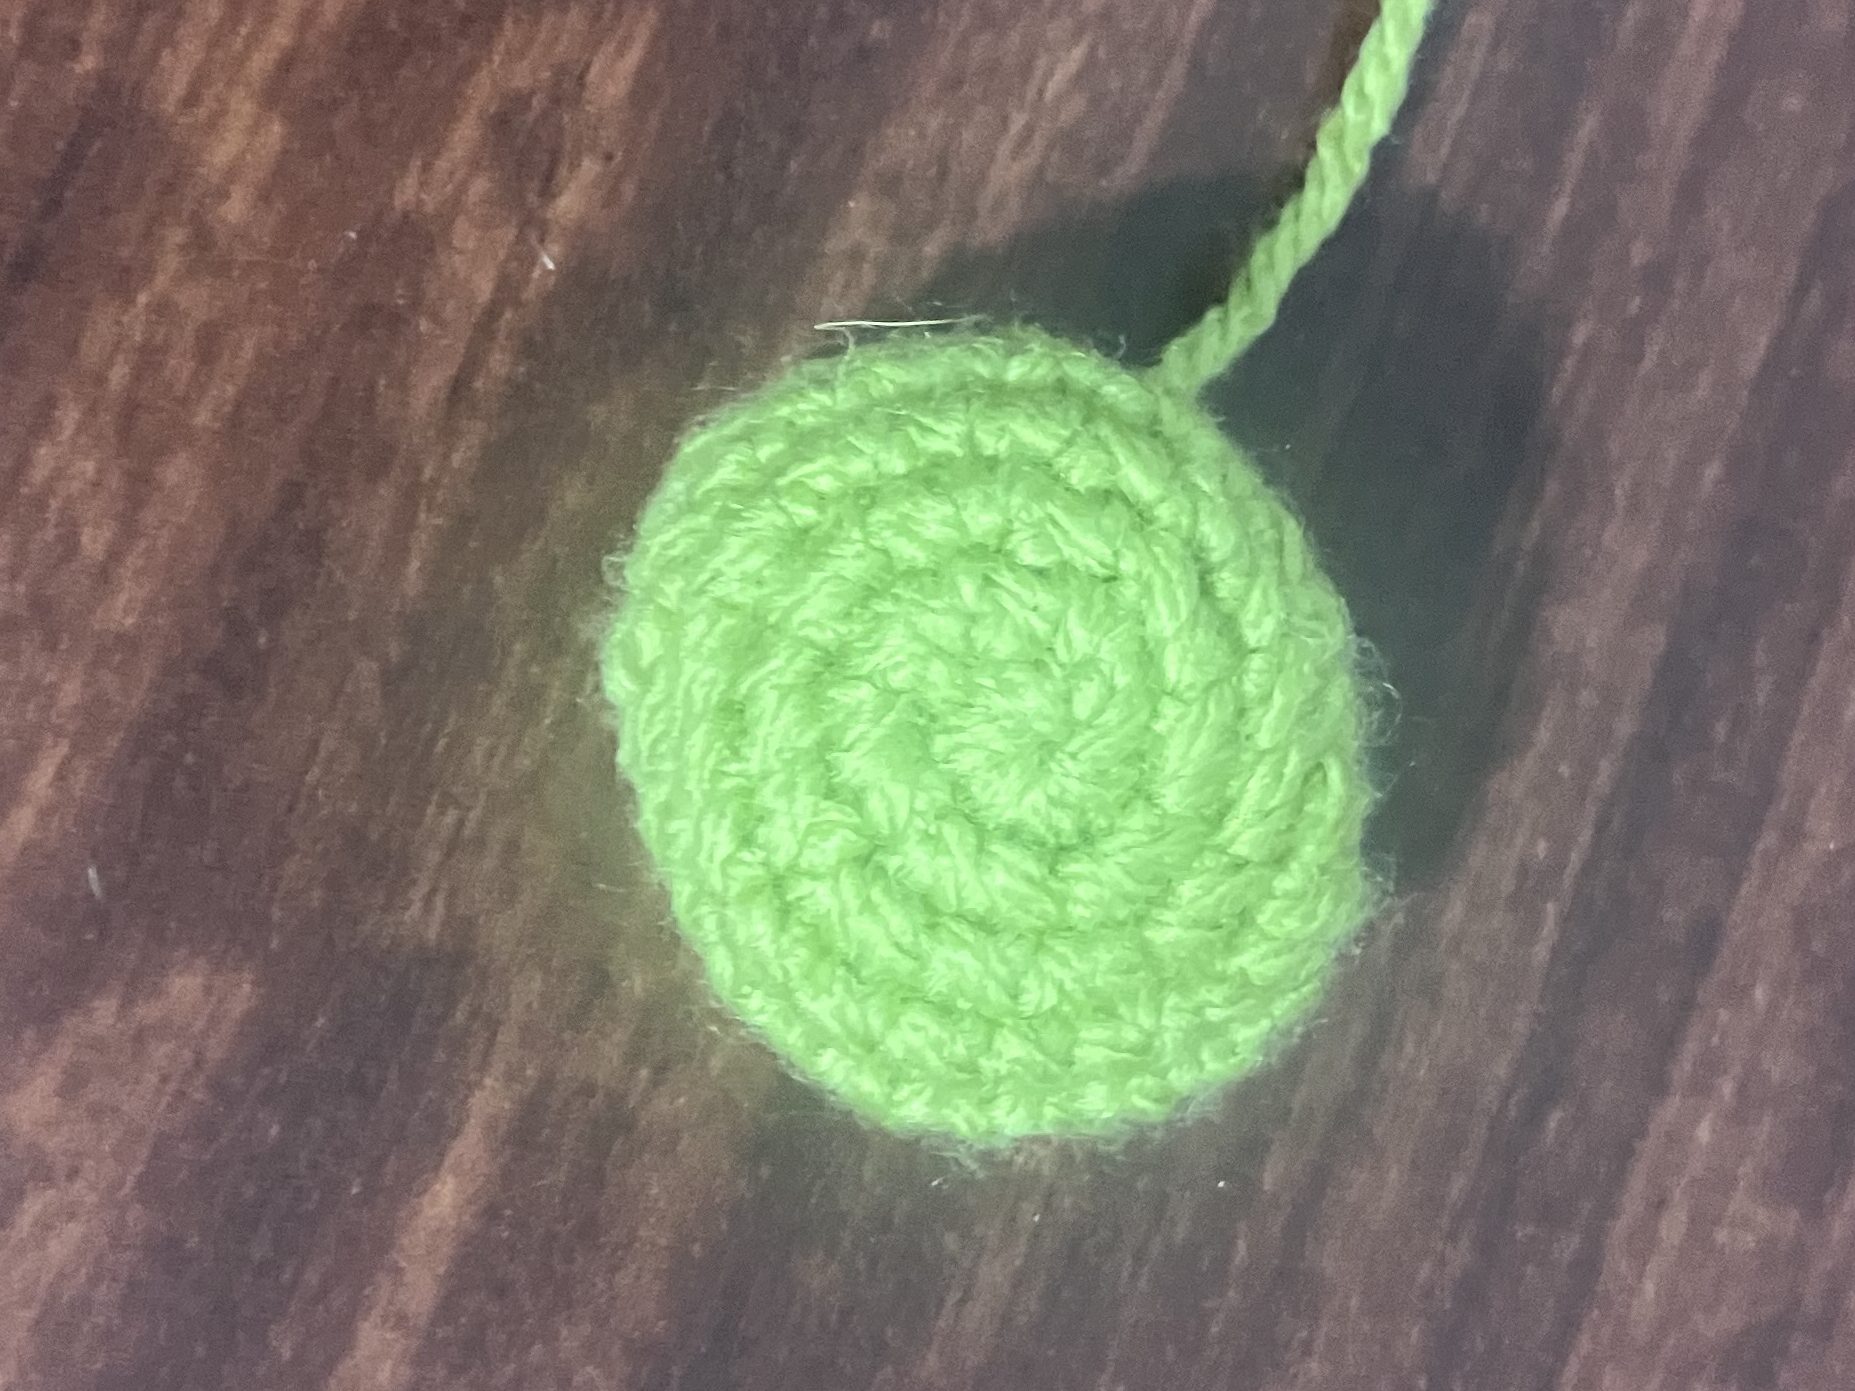
Mouth
Make 1
Colours used: Green
● R1: MR 6 (6)
● R2: 6[inc] (12)
● R3: 2(inc, sc, 3[inc], sc) (20)
● R4: 5sc, 3[inc], 7sc, 3[inc], sc (26)
● R5: 26sc (26)
● R6: 2(3[dec], 7sc) (20)
● R7: 20sc (20)
Finish off and leave enough tail to attach to the body
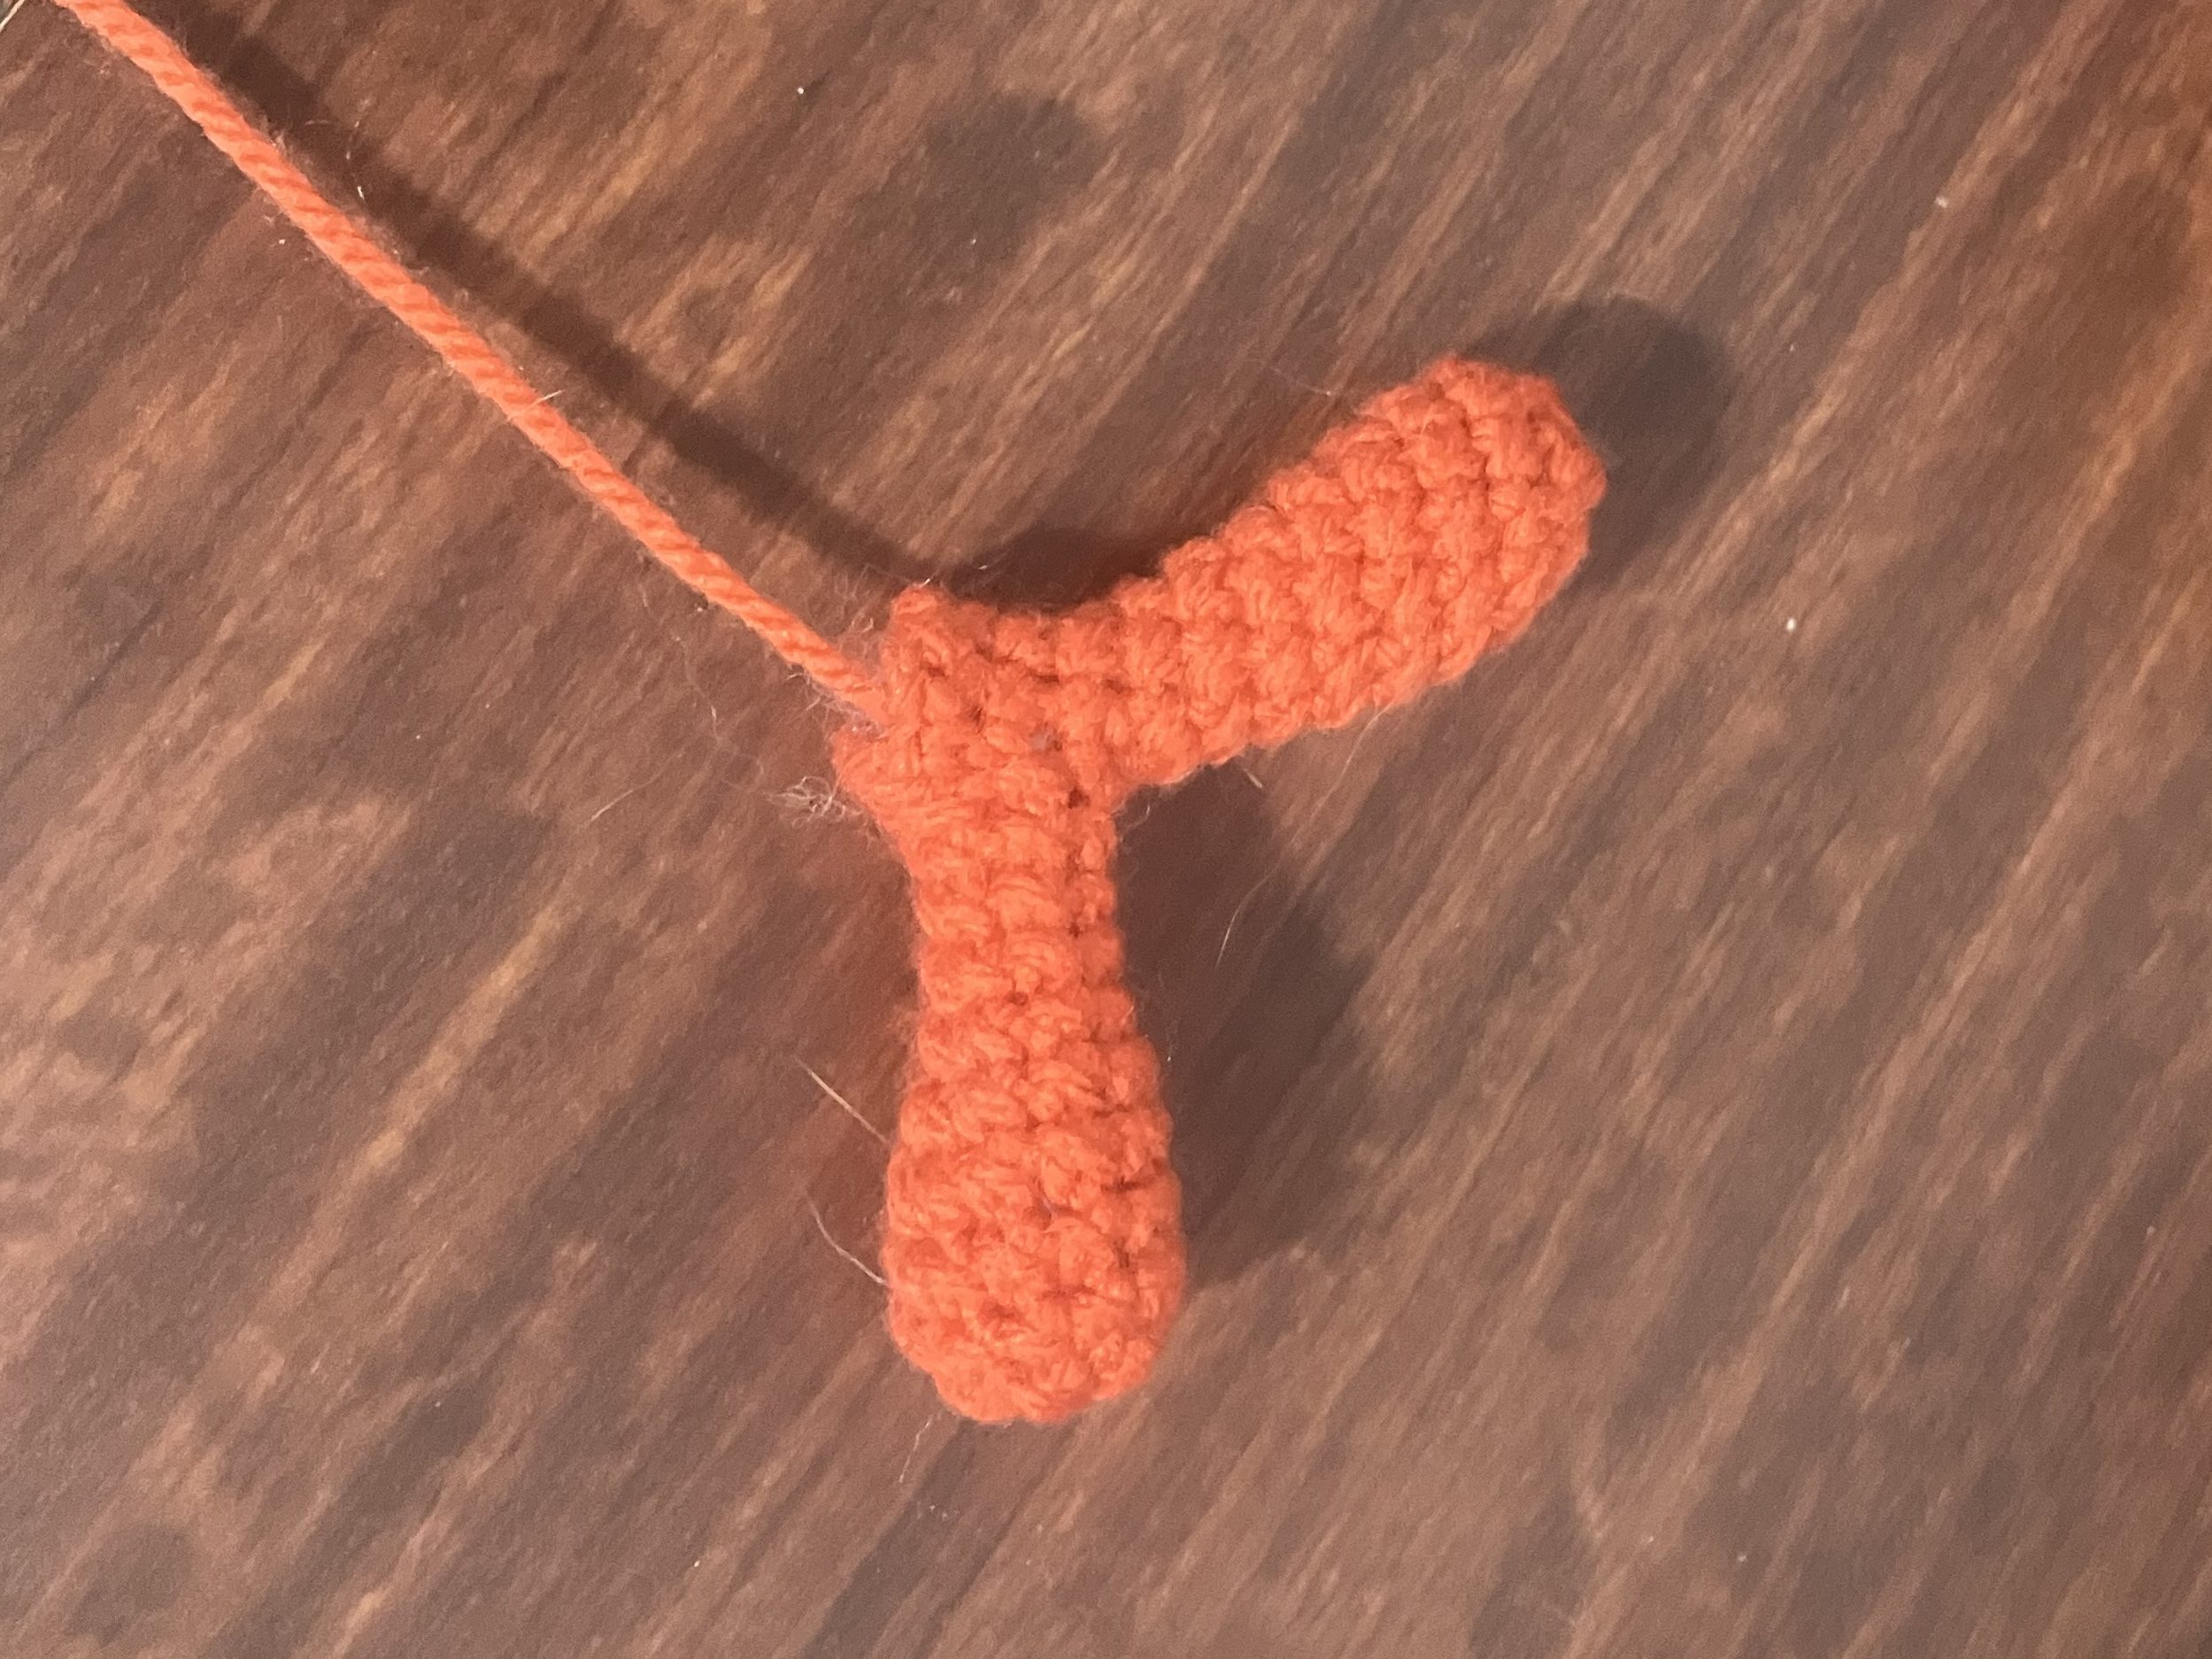
Antenna
Make 1
Colours used: Red
Note: in this section after the end of R3 you will be making the arms of the antennae separately & once one side in complete reattaching to complete the other arm.
You can either leave enough tail at your initial chain to attach to the body or after finishing one of your antenna or use a separate strand of yarn to attach.
Stuff your antenna before the closing each antenna
● R1: 8ch, ss into first ch (8)
● R2: 8sc (8sc)
● R3: 4sc, 4ch, skip 3, sc (9)
● R4: 2sc, 3 tog, 2sc, dec (6)
● R5: 6sc (6)
● R6: sc, inc, 4sc (7)
● R7: 2sc, inc, 4sc (8)
● R8: 2sc, inc, 5sc (9)
● R9: 3sc, inc, 5sc (10)
● R10: 4sc, inc, 5sc (11)
● R11: 5sc, inc, 5sc (12)
● R12: 12sc (12)
● R13: 6[dec] (6)
Finish off and loop tail through the front loop of each stitch and pull together like a drawstring bag.
Attach into the last sc before the chain on R3. The 3sc on the below R1 includes this attaching sc. In the 3 tog of R1 you will be looping the following loops – one on ch, one on sc of previous antenna section and the first sc of this section.
● R1: 3sc, dec, 2sc, 3 tog (6)
● R2: 6sc (6)
● R6: sc, inc, 4sc (7)
● R7: 2sc, inc, 4sc (8)
● R8: 2sc, inc, 5sc (9)
● R9: 3sc, inc, 5sc (10)
● R10: 4sc, inc, 5sc (11)
● R11: 5sc, inc, 5sc (12)
● R12: 12sc (12)
● R13: 6[dec] (6)
Finish off and loop tail through the front loop of each stitch and pull together like a drawstring bag.
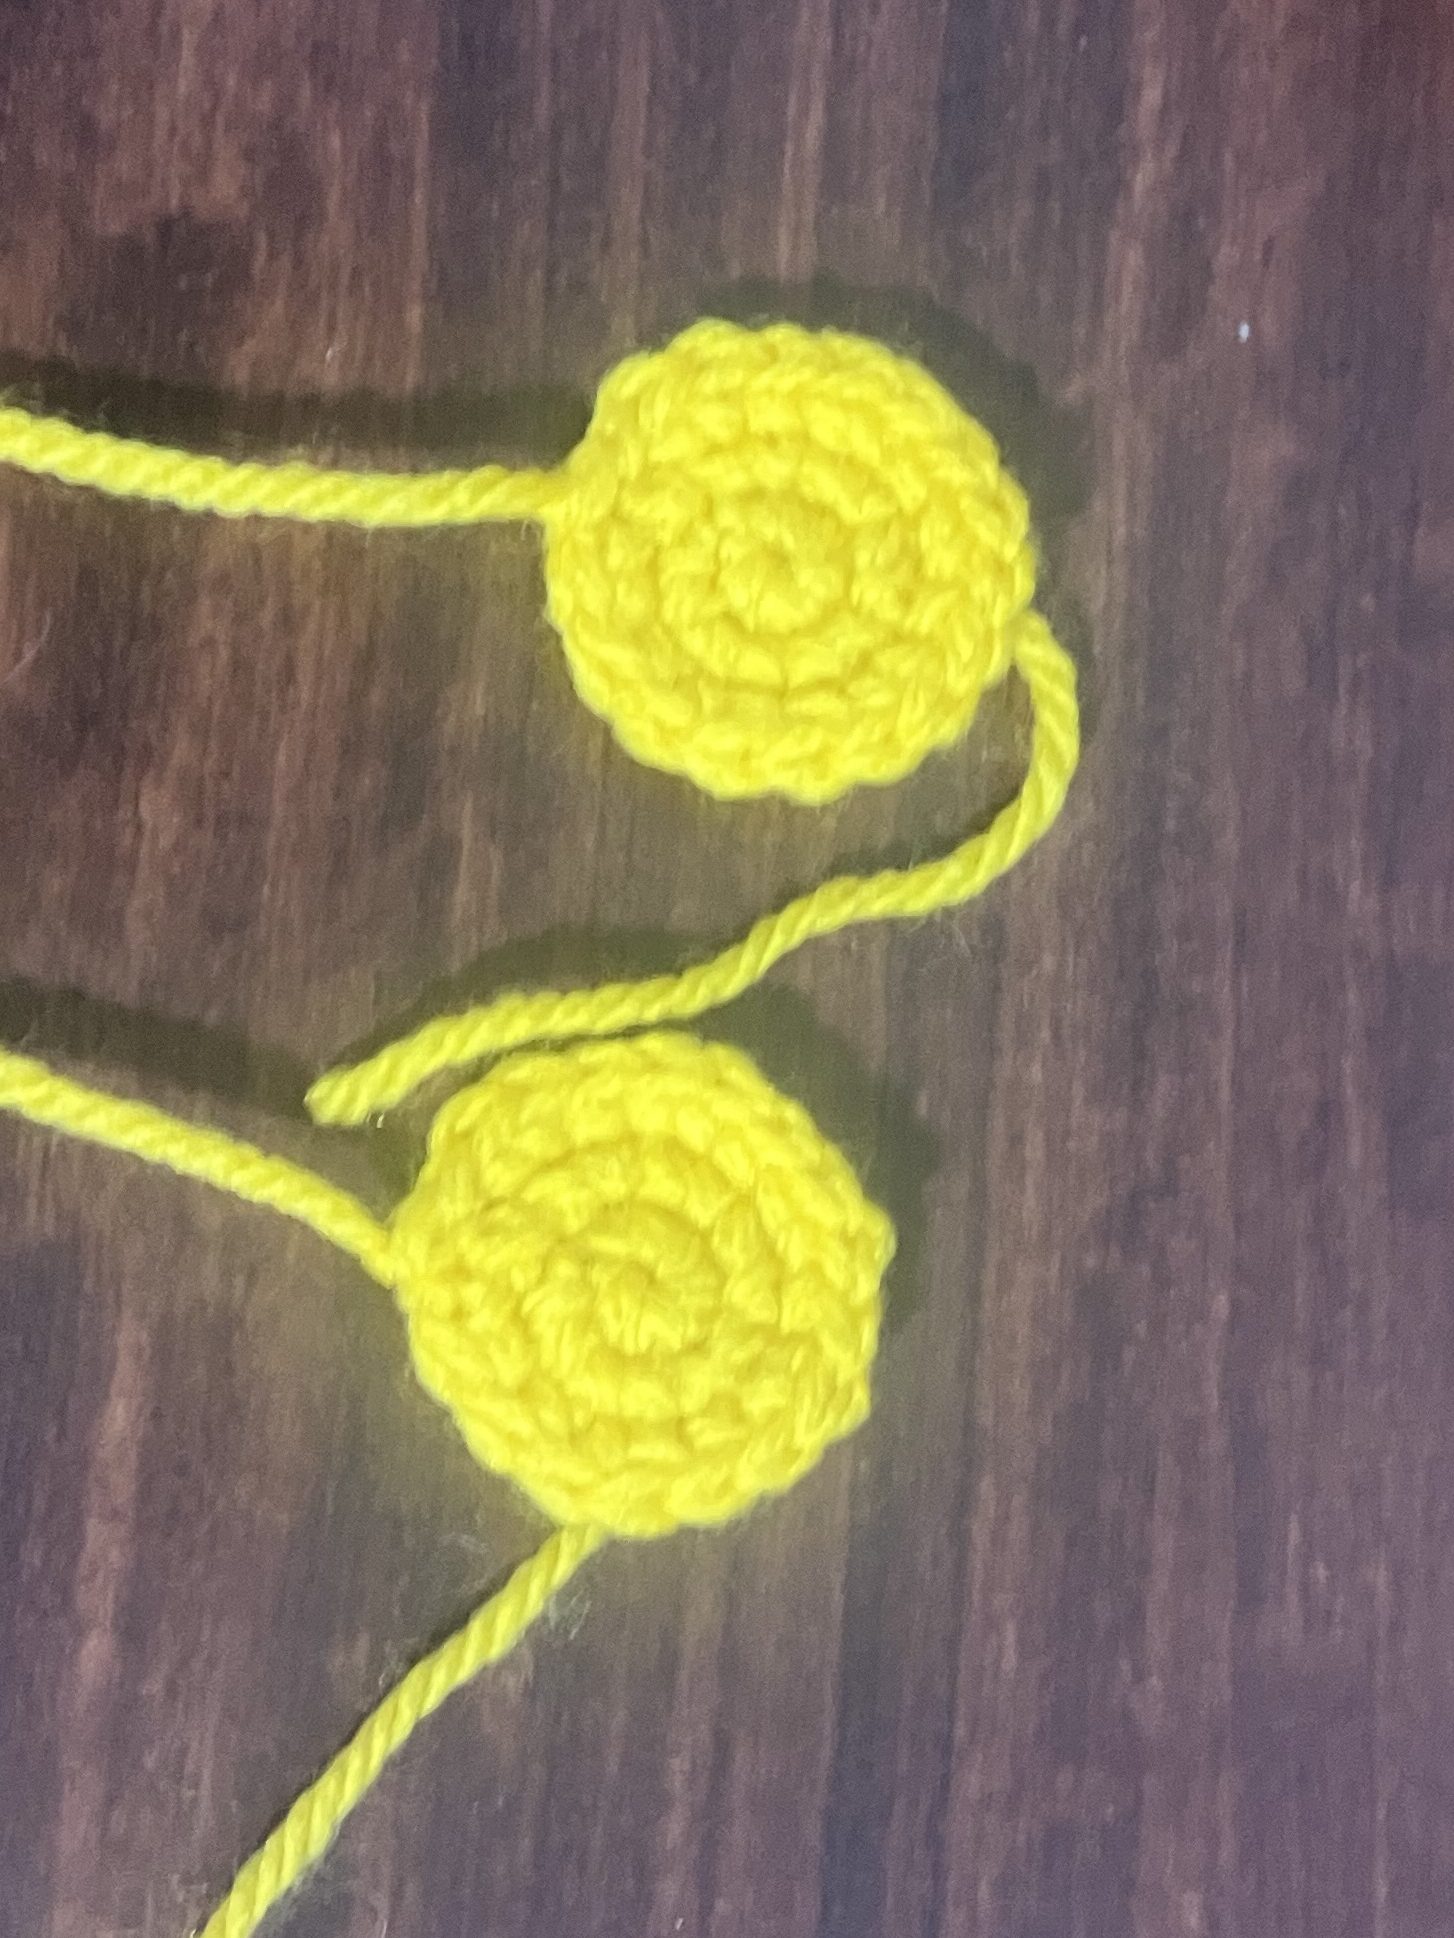
Eyes
Iris (optional if no safety eyes)
Colours Used: Yellow
● R1: MR 6 (6)
● R2: 6[inc] (12)
● R3: 6(sc, inc) (18)
Finish off and leave enough tail to attach to the head
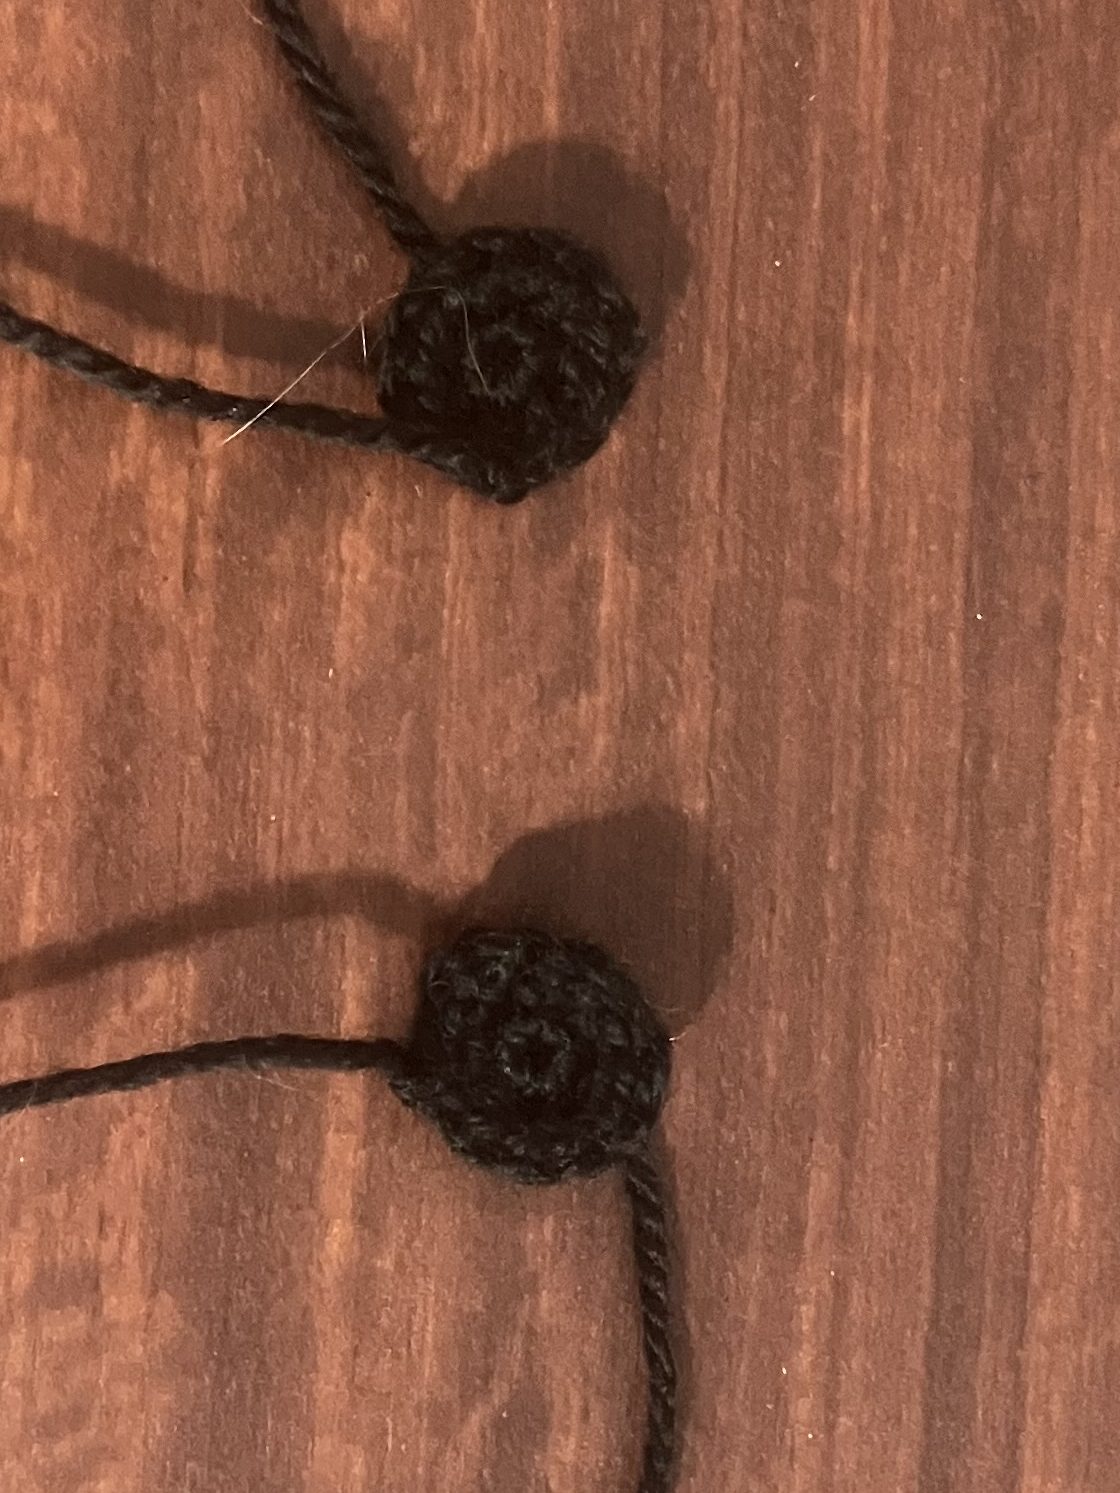
Pupil (optional if no safety eyes)
Colours Used: Black
● R1: MR 6 (6)
● R2: 6[inc] (12)
Finish off and leave enough tail to attach to the Iris
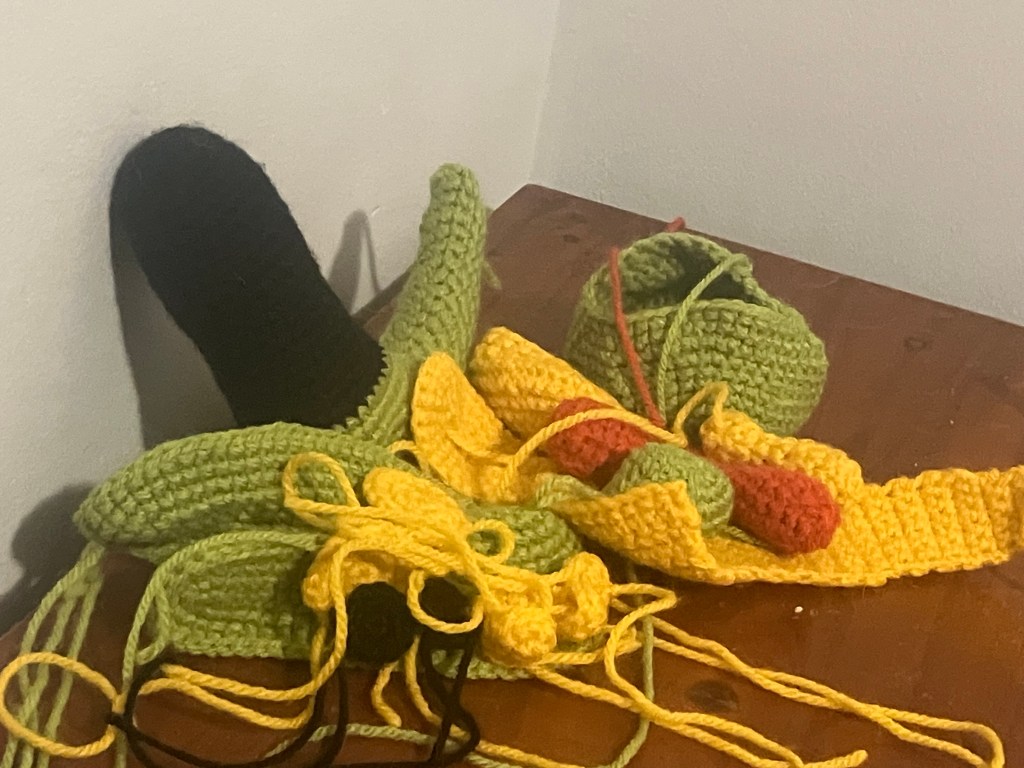
Assembly
Please read these instructions first to decide which way you would like to attach. This wholly depends on whether you have confidence in your weight to keep you Caterpie upright.
First part of the assembly is to attach the belly to the tail. The corners of the wider edge are attached to where the green first starts down to the end of the tail. It should be easy to position. As you are attaching you may find a little bit or give towards the wider end however do not fill this with stuffing. Leave it to go flat as it will help with keeping your Caterpie upright.
Attach the tail end with the small ball to the end of the tail.
Next attach the chest and back pieces. While attaching these ensure you fill with stuffing while you’re going as it will make it difficult if you wait until the end.
Attached the chest pieces first. The bottom chest part is attached so it lies within the curve produced by the belly of the tail. Then attach the upper chest part to fall in line with the lower chest.
When attaching the back pieces these come partway into the chest pieces. For the lower one it covers row 4 and for the upper chest piece it covers rows 4 & 5. You need to position them so they run in line with the chest pieces as the curve of the tail may try to angle it to curve towards the head. Flatten the tail out to help. I use R24/25 – R25/26 on the body for the bottom of my lower back piece as a guide, where the green just starts. You will also find that there are more crochets in the back pieces that can be attached to the body piece and you are right. When attaching these to the body along
the same Row of the body, & not curving to/from the chest, loop 2 crochets together, you should have enough attachment points to allow for this. For the lower back piece along the top section you will need to do this for about 7 stitches (14sc in total) and 1-2 for the bottom section. For the top back piece I will do this from where I am starting along the horizontal row to the other side, excluding the parts that are curving.
The mouth is attached above the top chest piece. I usually leave a row of sc between these two pieces to help with depth and it looks this way on Pokémon Go. You need to make sure that the spiral start of this piece is at the bottom for when you are embroidering the black sections (see below image for reference). It will be hard to complete the black part of the mouth if you don’t do it this way.
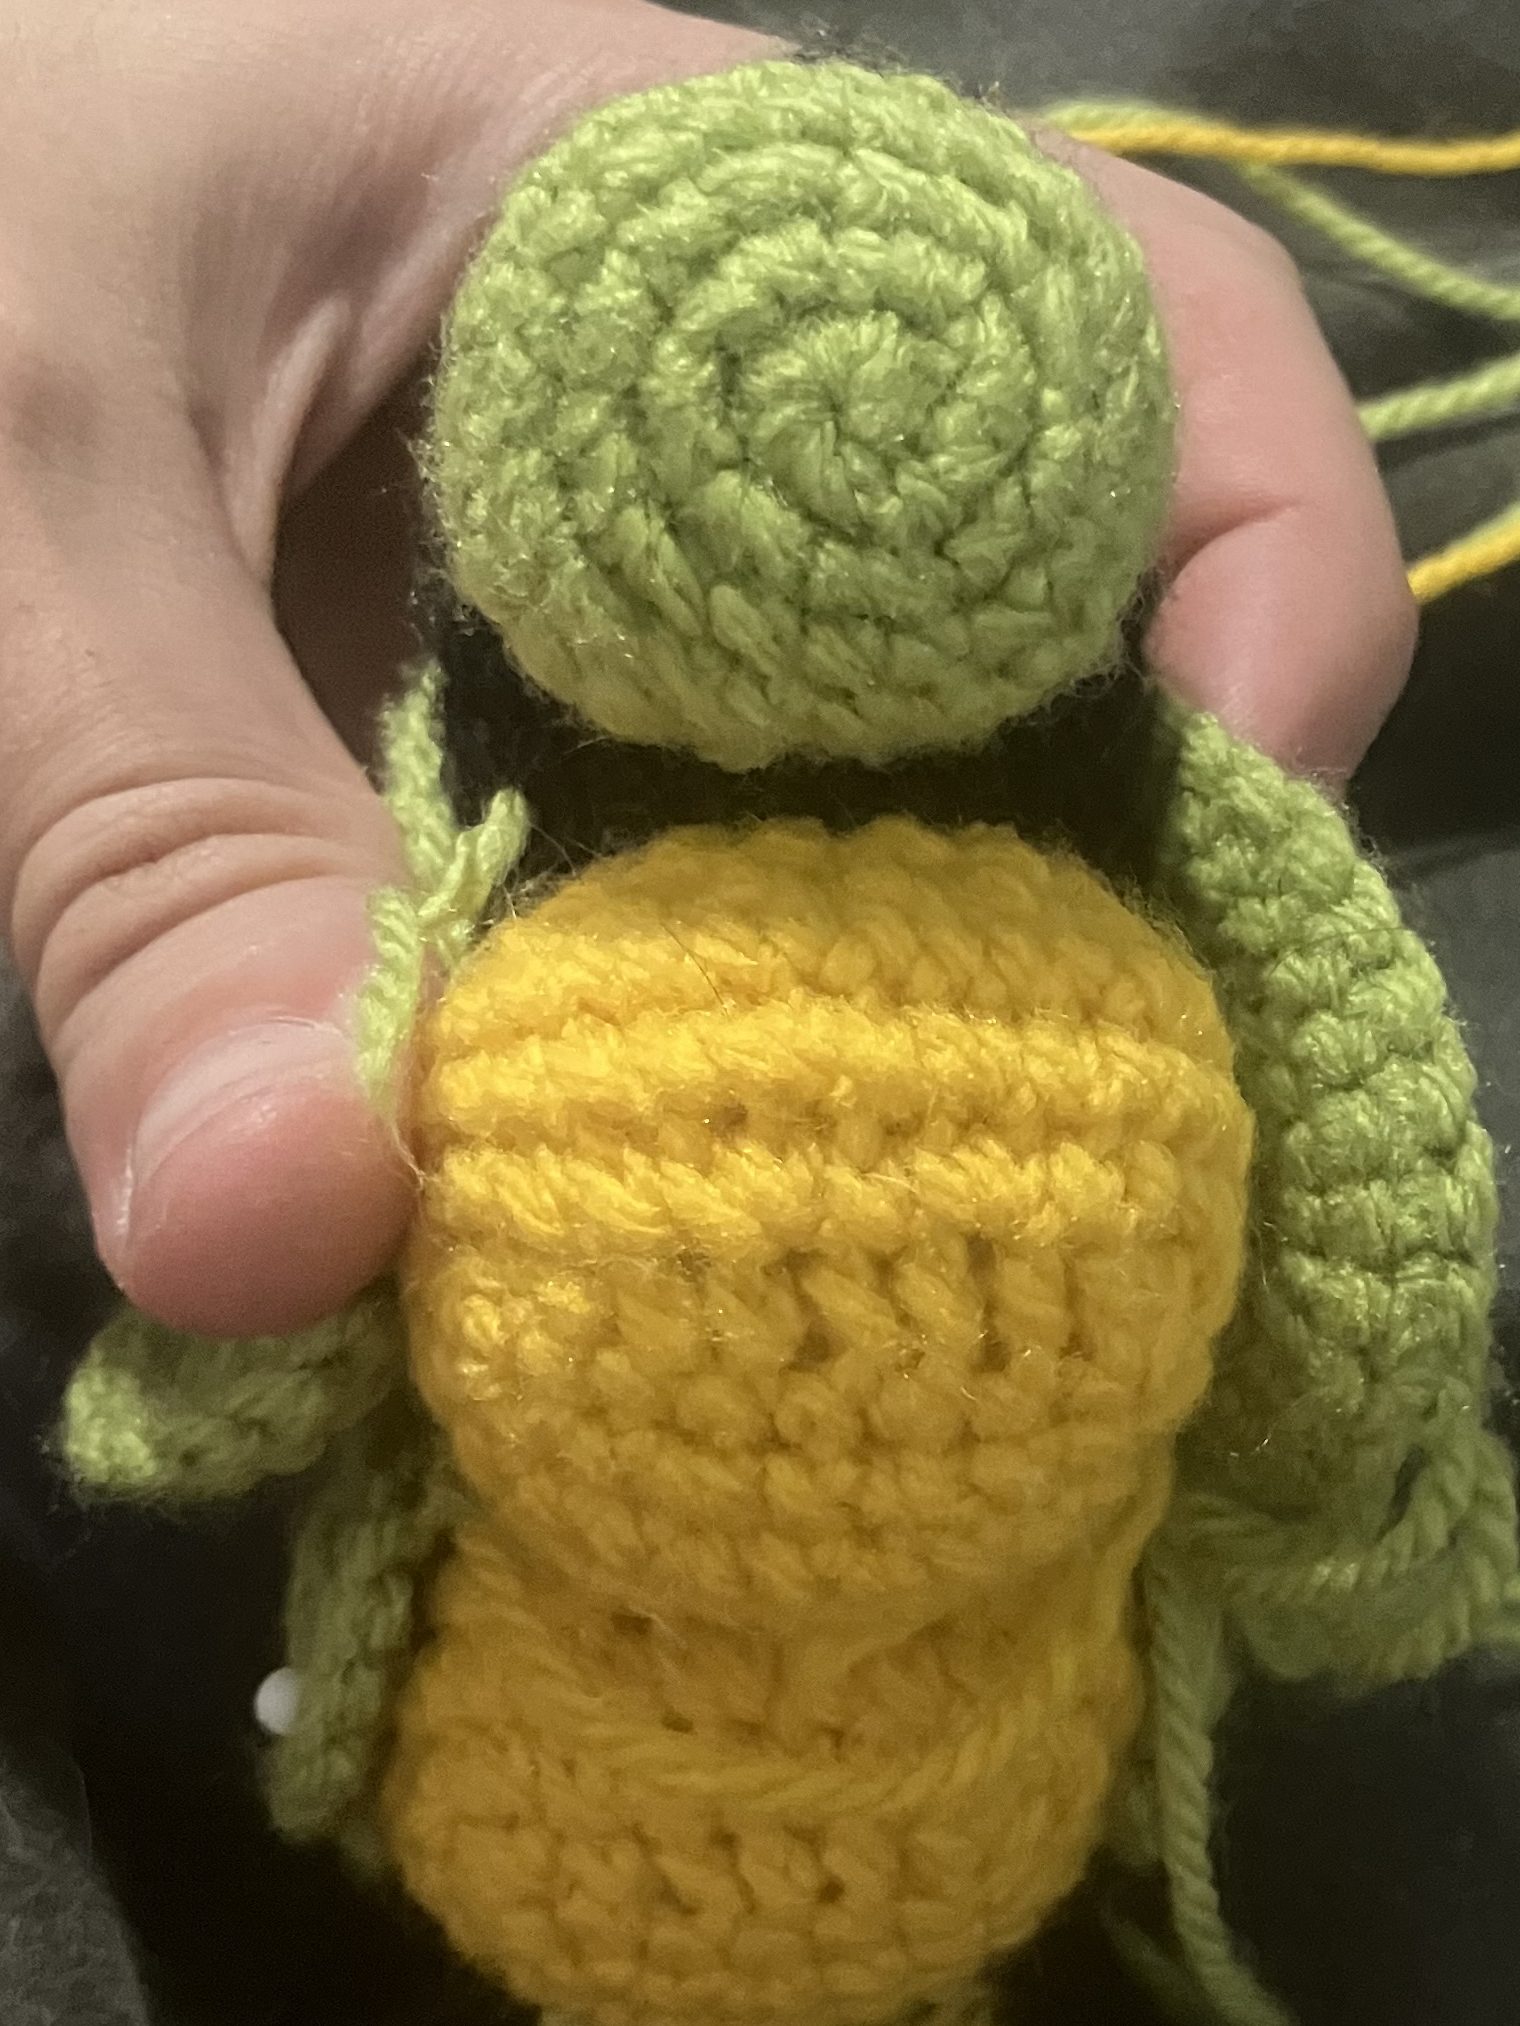
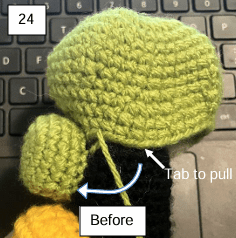
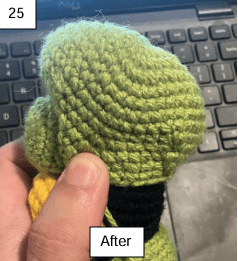
The head is a little tricky as we are using a bit of positioning to pull it over the mouth and create some depth. Where you ended should be partway in the curve of where you are going to attach to where the mouth is joined to the body. The other curve will be going around the body using the same row as the bottom of where the mouth is or the one below – you decide which looks better for your piece – and the tabs on either side are used to pull the head forward and give it some shape. There are about 9 attachment points/sc that I use to attach the head around the top of the mouth. Partially stuff your head, ensuring you fill the front part of the head. You can then push the head forward so it starts covering the mouth.
Once you have it in a position you like pin it in place to help you with the next step. I like to cover the last two rows of the mouth. Then you are going to insert your needle to exit through the bottom part of the opposite mouth where your head wants to go and through the head. I will go through both layers of the head as it will have folded. We then want to insert your needle so it comes out the opposite side to attach this side. In doing this step of you have gone through both layers of the head like I do make sure when first inserting your needle you go back through the same hole in the first layer (outside layer) and out a different hole in the second layer of the head (inside layer) or else you will either not attach the head or pull the front of the head in so stuffing can’t get in to make it seem more rounded. I had to do this a
couple of times to get the head to a position I liked.
Then start attaching around the body ensuring you use the same row all the way around. It should leave a gap between the head, mouth, chest & back area however the gap should not be present along the back section. You need to stuff as you go as your go, ensuring you pull the stuffing into smaller pieces to fill the gaps and create the rounded head. *Note if you are using safety eyes ensure you place these before finishing the head. It may require you to attach it around the body so you can place the eyes initially before un-attaching to clip them in place.
If you like me are unsure if your weight is going to be heavy enough then I strongly recommend not closing your body up, pin your tail belly on and attach your pieces in this order – Lower Chest, Upper Chest, Mouth, Head, Upper Back. Do not attach the Tail Belly, Lower Back or Tail End pieces. After you have attached these pieces you should be able to confidently test to see if your piece stays upright. If not you have capacity to frog the body until you can increase your weight so your amigurumi stays upright. *Note this is how I did it for my reference photos.
Once you are confident in your weight attach the previous “do not attach” pieces
The next step is to add the details now in no particular order.
If you have not done so already attach the Tail End with the smaller ball end being the attachment point.
Attach the feet – each chest piece has two feet located at the either end of the chest pieces.
Attach the eyes – each eye will have the iris and pupil located either side of the head. Attach the iris first then the pupil
Last piece to attach is the Antennae – This is placed in the centre of the head about 2-4 sc above the mouth.
Once all the pieces are attached we need to work on the embroider details.
First we use the black to add details to the mouth. Create a circle where the inside contains the first 3 R of the mouth.
Next we are adding details to the tail section. You need to divide the green part of the tail into 3 and the yellow part into 4. I have found completing the yellow tail division first easier. Check your Caterpie reference image for details. Don’t forget to do the details to the tail ball too. If you need further assistance in completing this step please reach out to me
Lastly is to embroider the yellow circles. It is important to do this last so you know where to place these on the tail. Again use reference images to get an idea where these need to be placed.
And that’s it Caterpie is all done! I hope you enjoyed crocheting it and found the pattern helpful. I would love to see your finished amigurumi, so share a picture on social media with me by tagging me @dans_crochet_adventure. Once again, if you have any questions don’t hesitate to reach out to me through email at danscrochetadventure@gmail.com or reach out to me on my socials. Happy crocheting! ♥
One response to “Caterpie – the Worm Pokémon”
-
wow!! 101Lucario – the Aura Pokémon
LikeLike

Leave a comment